

Create a Flowchart
Create your first flowchart
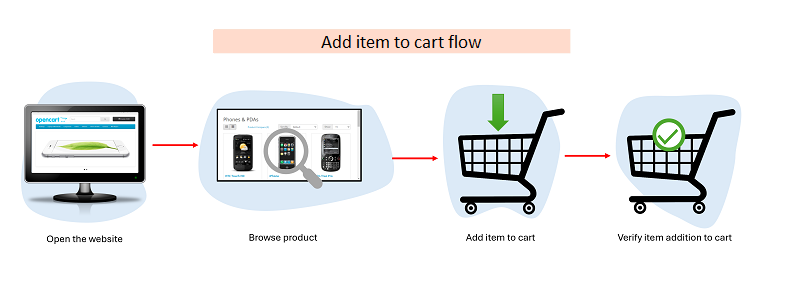
Here, we will create a flow to add an item to the shopping cart of an e-commerce website.
Start Sahi Pro Dashboard
Section titled “Start Sahi Pro Dashboard”-
Start Sahi Dashboard by any of the following methods:
Double click on the desktop shortcut

or
Start from the command line.
- Windows: - Go to
<sahi_root>\userdata\binand runstart_dashboard.bat - Linux - Go to
<sahi_root>/userdata/binand run./start_dashboard.sh
- Windows: - Go to
-
The Sahi Pro console will appear.
Launch Flowcharts UI
Section titled “Launch Flowcharts UI”-
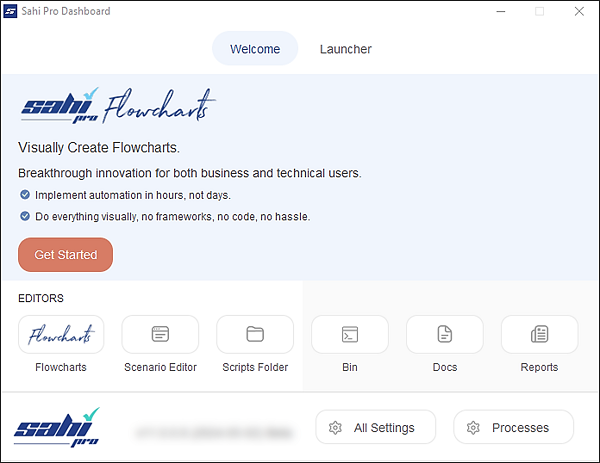
The Sahi Pro Dashboard will appear.
-
Click on the
Flowchartsbutton. -
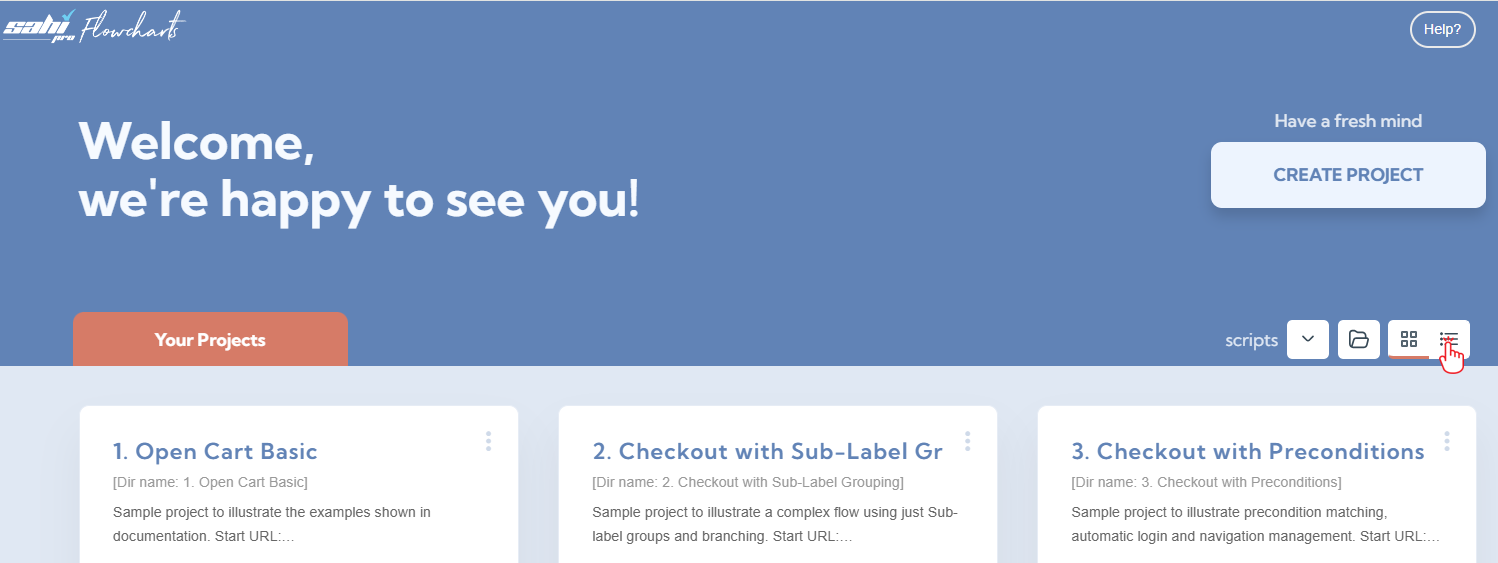
The User interface opens in your default browser, displaying the welcome screen or the project page. By default grid view is selected, to change into list view click on list view icon.
-
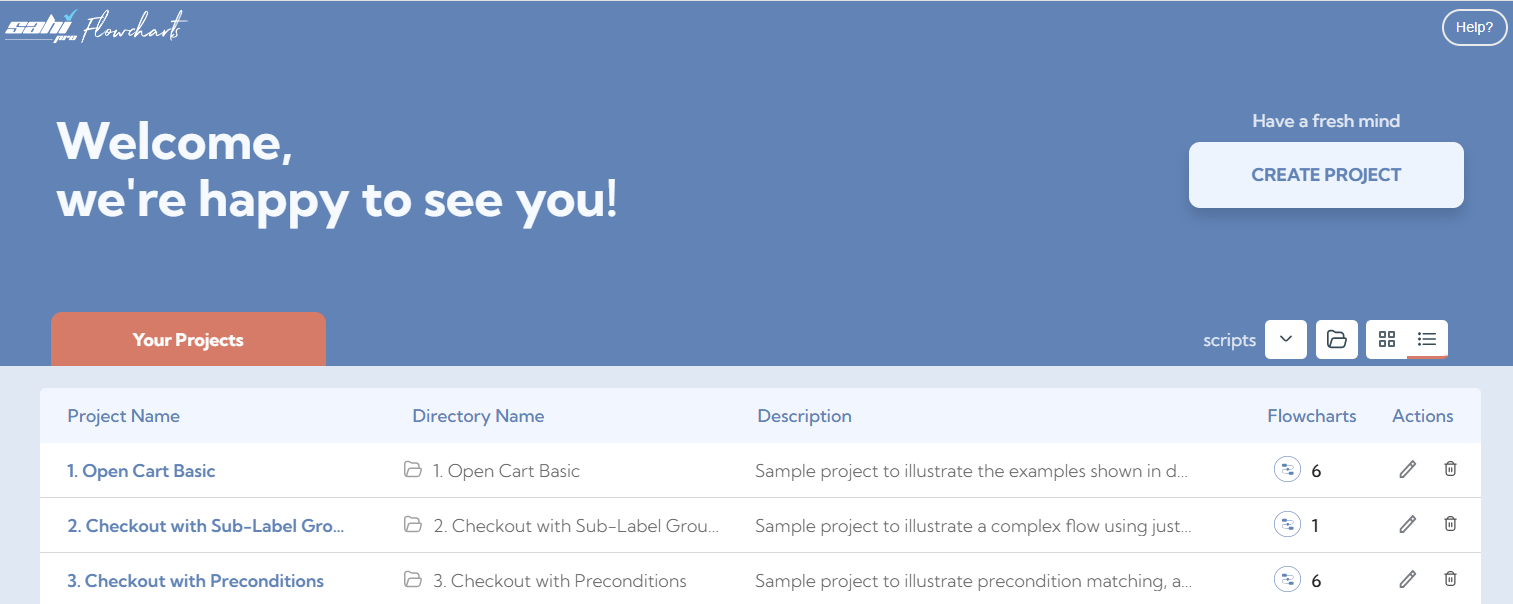
In list view welcome screen or project page will display as shown in image below.
Create a Project
Section titled “Create a Project”-
Click on the
Create projectbutton.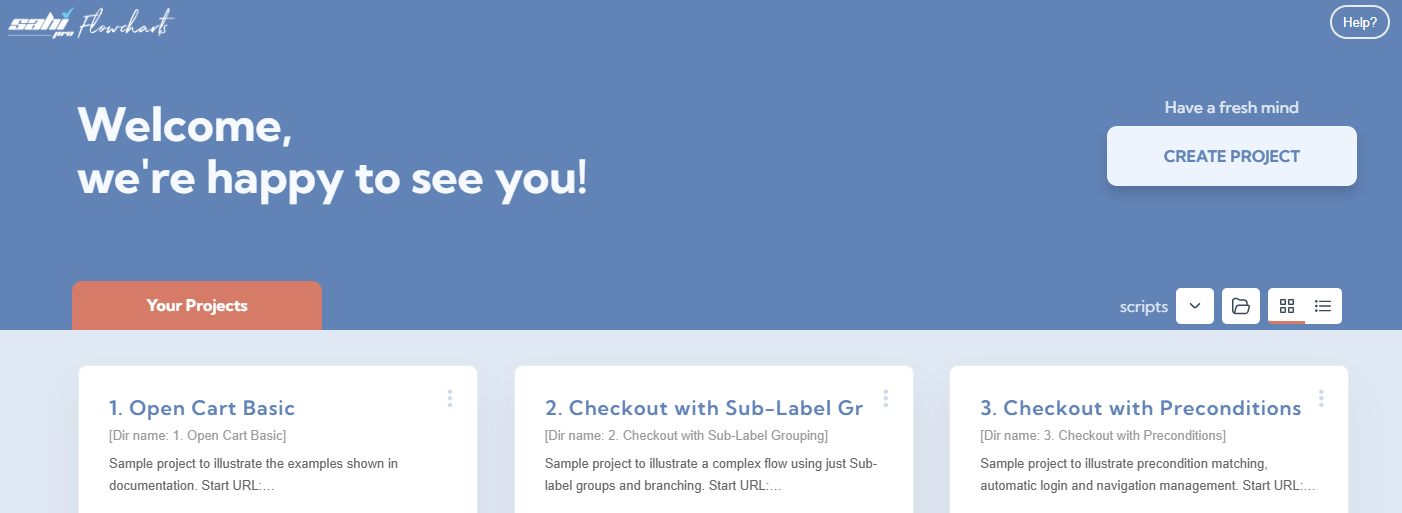
-
Enter Project details:
- In the Project Details dialog box, provide a Project name :
Open Cartand description (optional). - Click on
SAVE CHANGES.
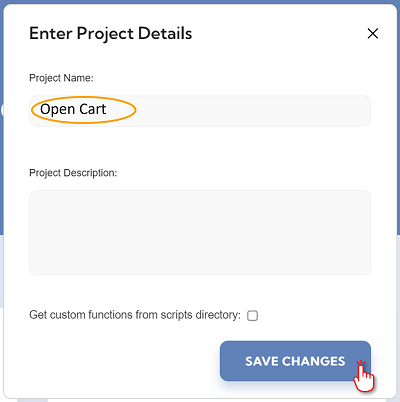
- In the Project Details dialog box, provide a Project name :
Create a New Flowchart
Section titled “Create a New Flowchart”-
Click on the
Create Newbutton to create a new flowchart.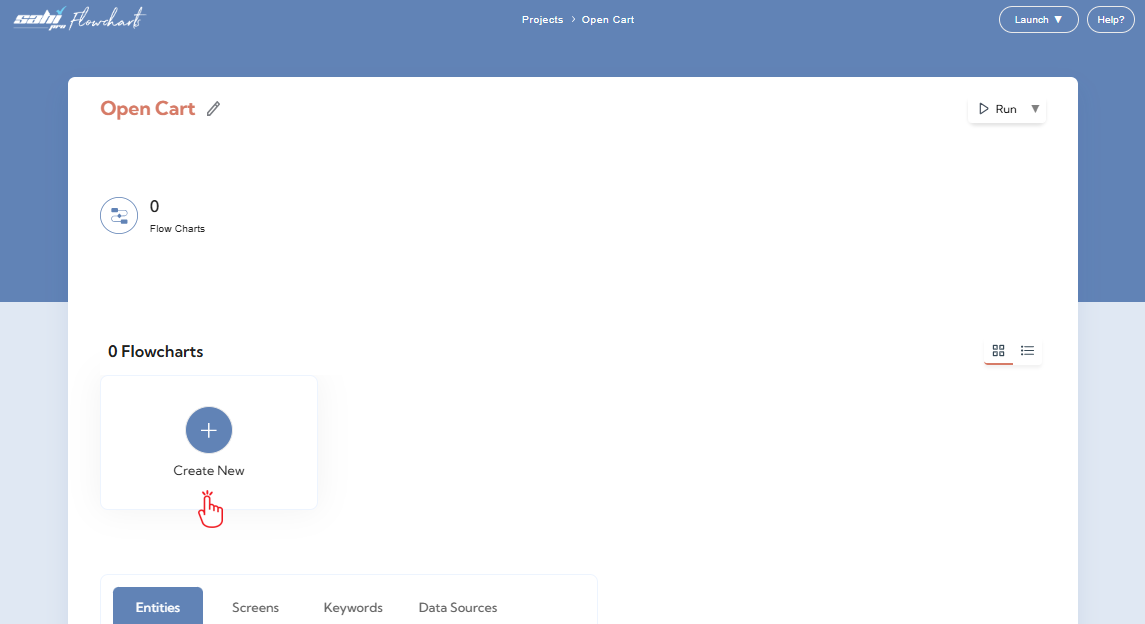
-
In list view flowchart page will display as shown in image below. Click on the
Create Newbutton to create a new flowchart.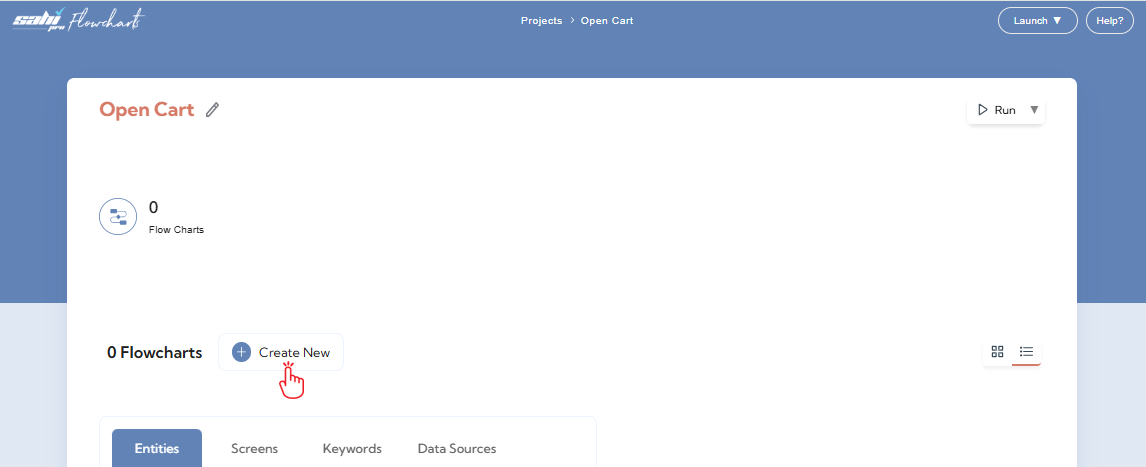
-
The flowchart window appears with a blank flowchart containing the Start node.
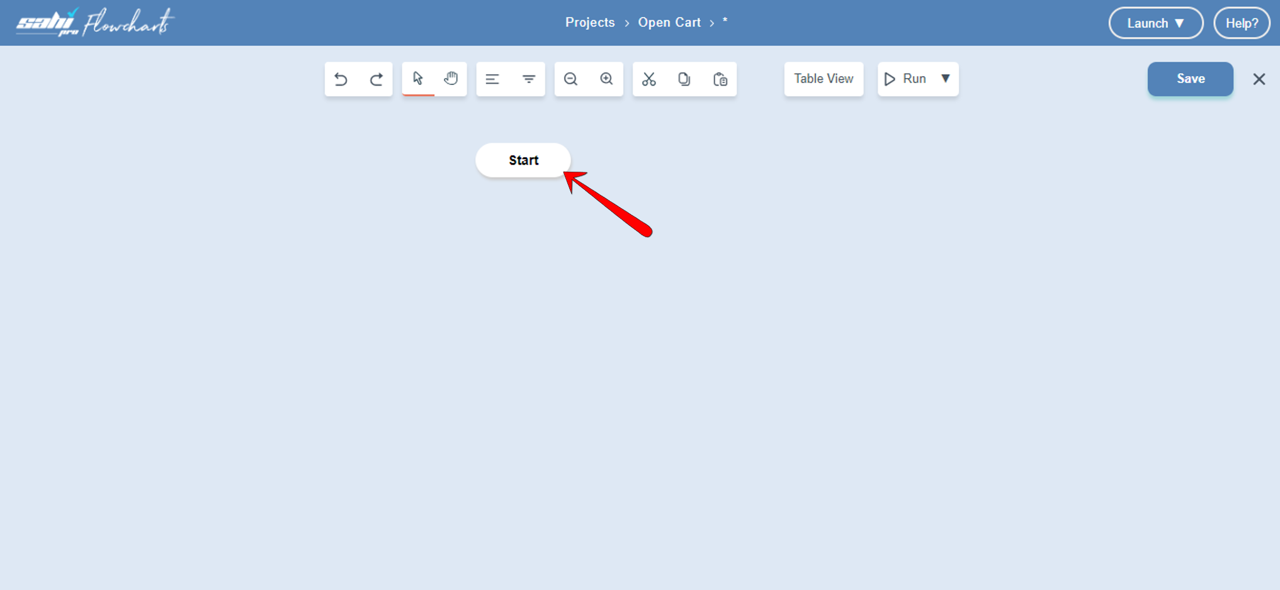
Add Nodes
Section titled “Add Nodes”-
Add a
LabelNode:-
Click on the
Startnode, choose Add Node.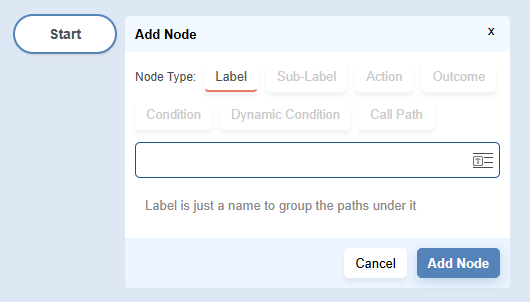
-
Type suitable name for the Path:
Shopping Cartand Click on Add Node.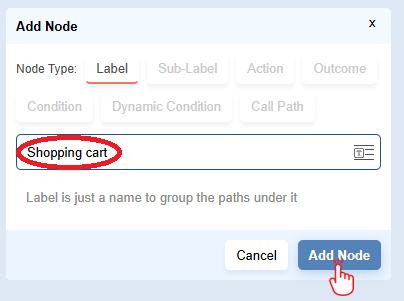
-
This will add the Label node below Start.
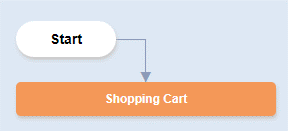
-
-
Add an action node:
Go to Product page.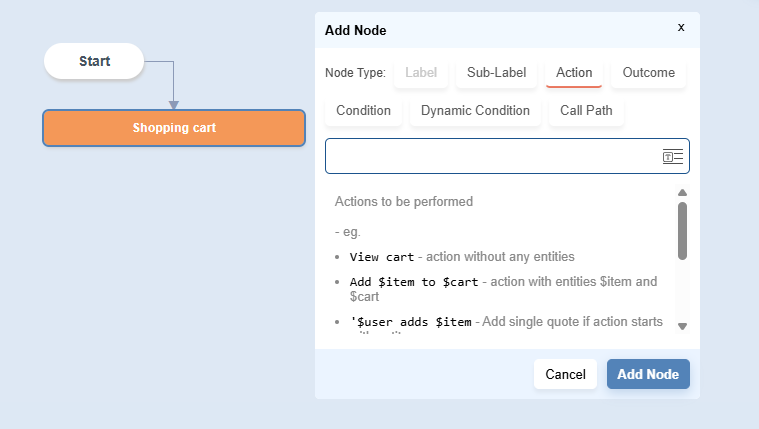
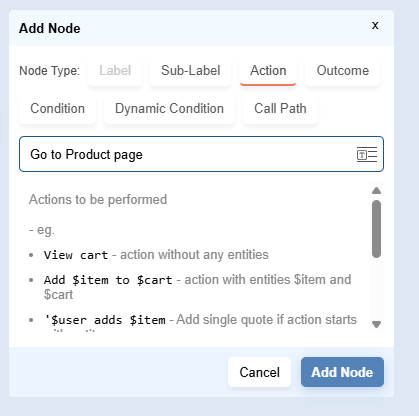
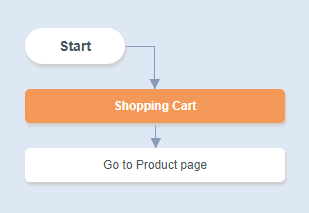
- A new Action node will get added.
- Note that all nodes are colour coded to avoid confusion.
-
Add another action node:
Add item to cart
The flowchart now looks like this: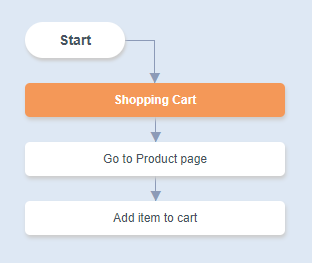
-
Add an outcome node:
Verify item added to cart
The flowchart now looks like this: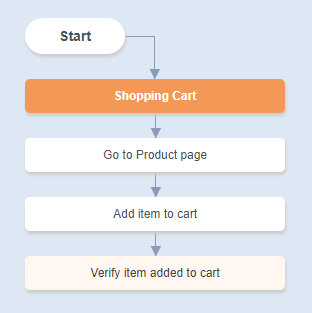
-
Click on the Save button.

-
Type the name for the flowchart.
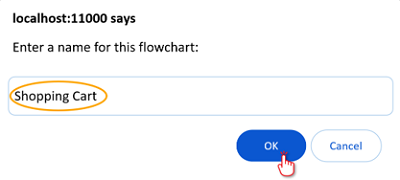
-
Click OK.
Next: Automate the Flowchart