

Visual Assist Automation - Getting Started
This section helps you quickly get started with Visual Assist Automation. To automate computer vision and machine learning algorithms using Sahi Pro Classic, refer Visual Assist Automation - Getting Started.
Start Visual Assist Automation
Section titled “Start Visual Assist Automation”-
Start Sahi Dashboard.
-
Launch The controller.
-
First we need to create a Flowchart. If you are not familiar with creating a flowchart, see Create a Flowchart
-
If Sahi Pro Visual Assist Engine is to be used with the Sahi Pro Desktop Engine, the controller can be launched by clicking on the dropdown arrow next to Launch and then select
Open ControllerOn the Flowcharts window.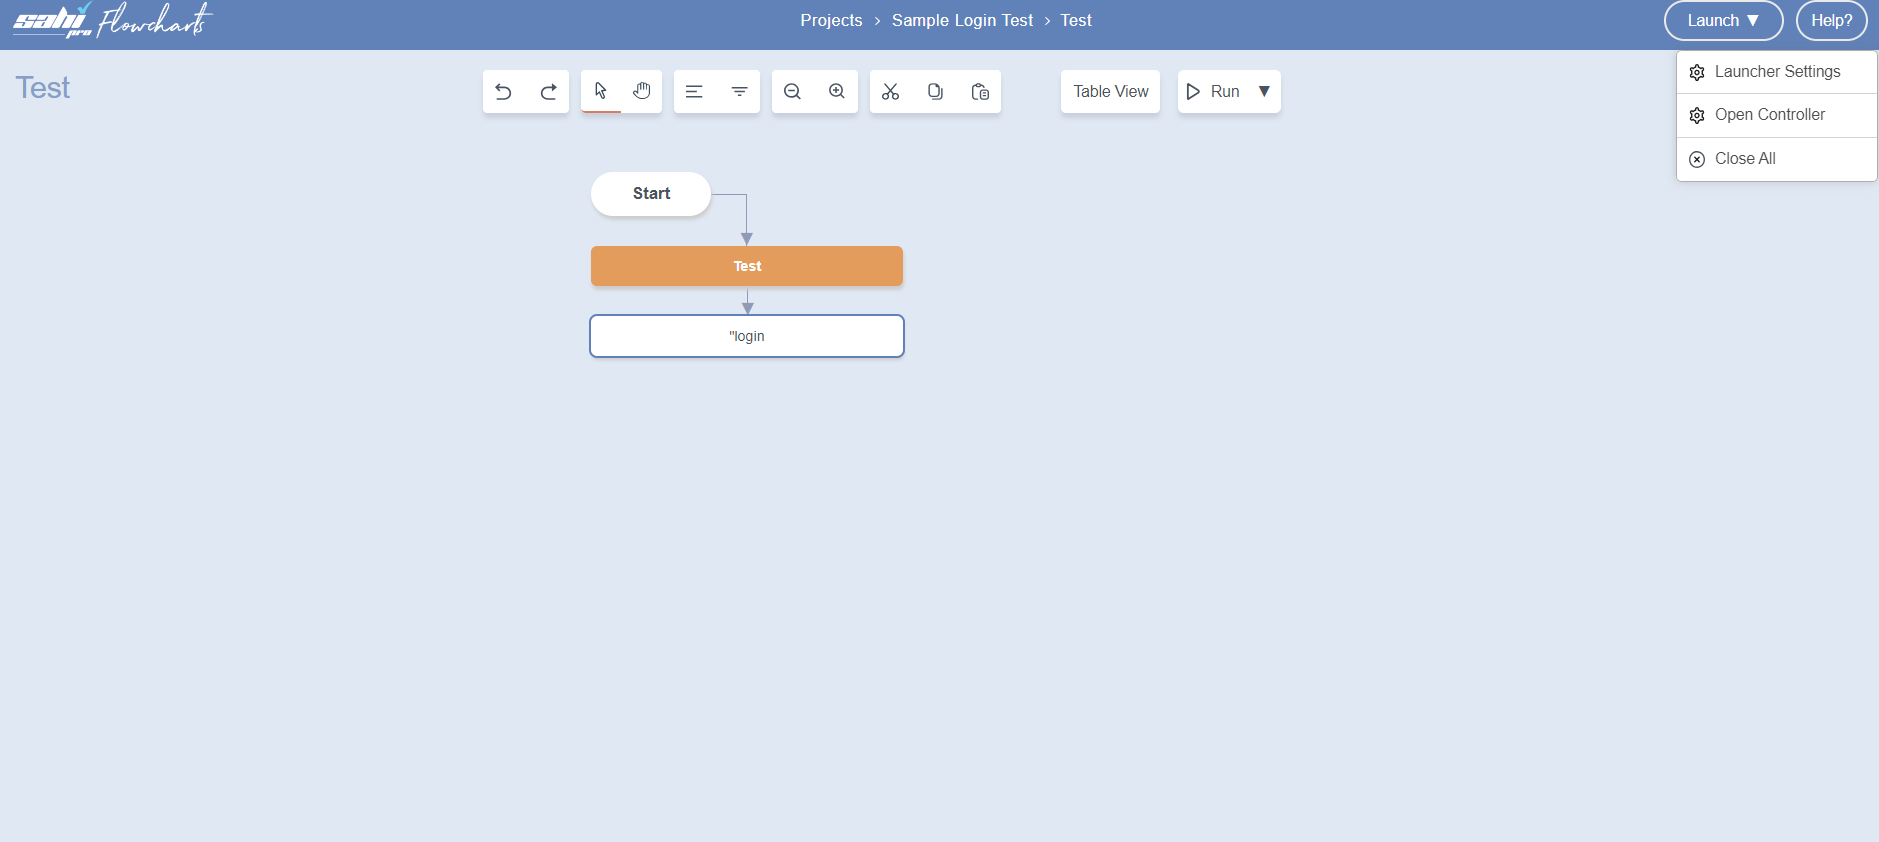
-
-
If Sahi Pro Visual Assist Engine is to be used with the Sahi Pro Flowcharts
BROWSERmode, open any browser from theLauncher Settingsand open the controller (either click on the dropdown arrow next to Launch and then selectOpen Controlleron the Flowcharts page OR press ALT key and then double click on the browser window). -
If Sahi Pro Visual Assist Engine is to be used with the Sahi Pro Mobile Engine, open the
Android/iOS ViewerfromLauncher Settingsand open the controller (either click on the dropdown arrow next to Launch and then selectOpen Controlleron the Flowcharts page OR press ALT key and then double click on theAndroid/iOS Viewerwindow).
Using the Controller
Section titled “Using the Controller”-
On the Controller, enable Visual Assist by clicking on the AI icon next to UI Element field.
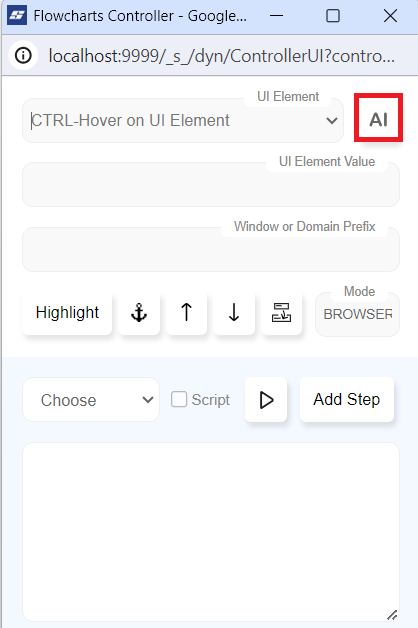
-
The Controller can be used to capture an image and text. User can identify, click, and choose other actions on the application.
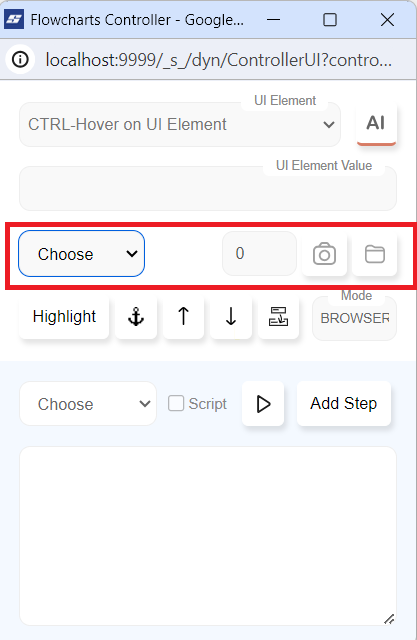
-
To capture an image:
-
Select the
Image Recognitionfrom the Visual Assist dropdown. If needed, input the required delay (in seconds) before capturing. Press theCamerabutton. Select the desired area to capture the image.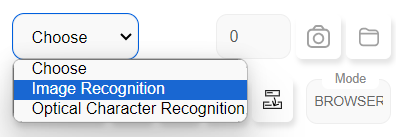
In
Enter Image Namedialog, give the image name. You may select one of the already present folders/sub-folders from theImage Directorydropdown to save the image. The image can be saved in a new folder by providingNewFolderName/ImageNamein theImage Nametextfield).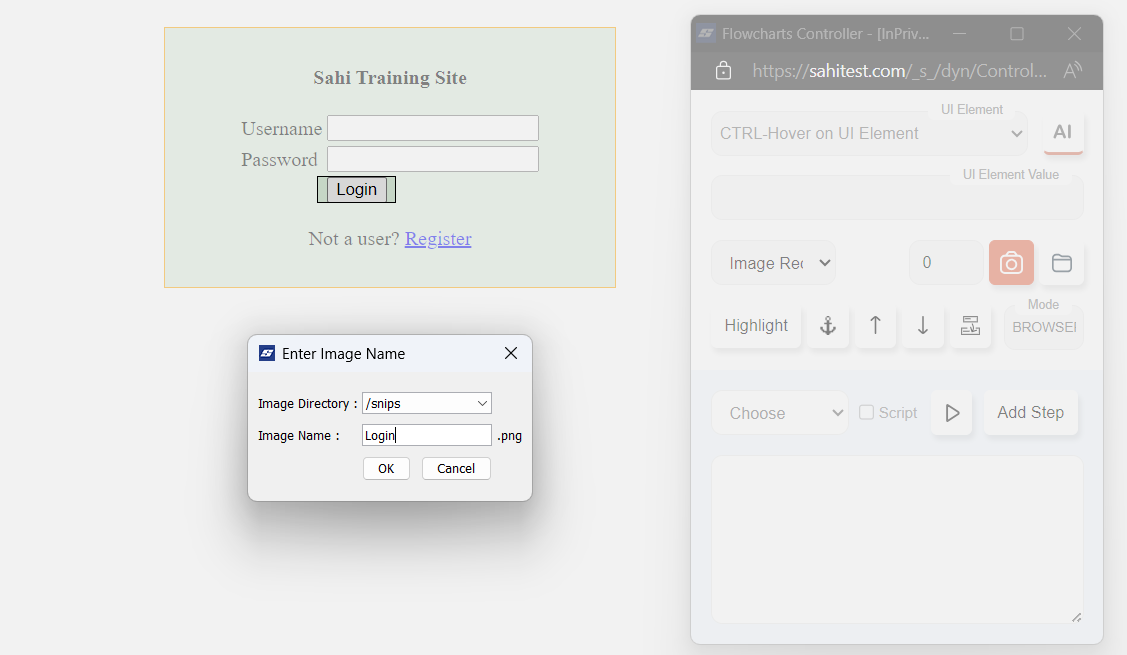
-
The
UI Elementfield in the controller will be populated with a Sahi accessor for the image.
-
-
The
Foldericon next to theCameraicon in the controller can be used to open the images directory in File Explorer.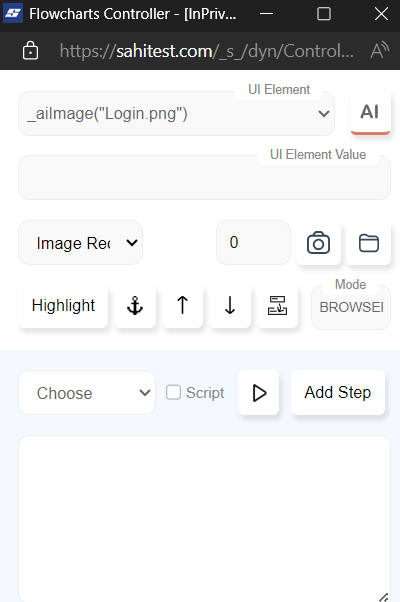
-
Using capture for text:
-
Select
Optical Character Recognitionfrom the Visual Assist dropdown. If needed, input required delay (in seconds) before capturing. Press theCapturebutton. Select the desired area to extract the text.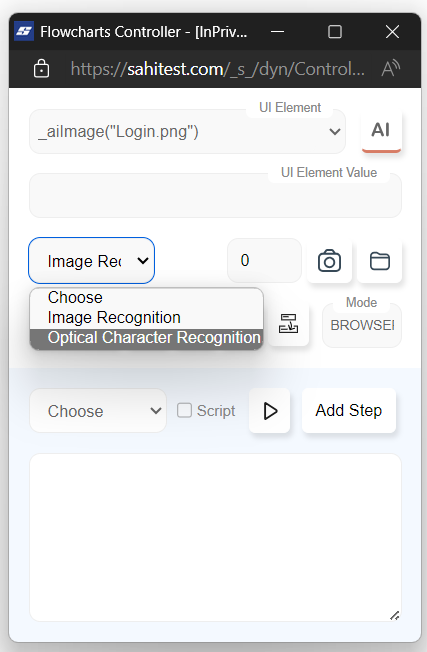
-
The
UI Elementfield in the controller will be populated with a Sahi accessor for the text.
-
-
To identify text or a saved image, select the
Optical Character Recognition or Image Recognitionfrom Visual Assist dropdown and press the CTRL key, hover over the text or the image.UI ElementShows the Sahi accessor for that element
Add the captured Image to Flowchart
Section titled “Add the captured Image to Flowchart”- After Evaluating the image, click the Add Step button to add the Step to the keyword.
Playback
Section titled “Playback”-
On the
Automatedialog click onRunbutton.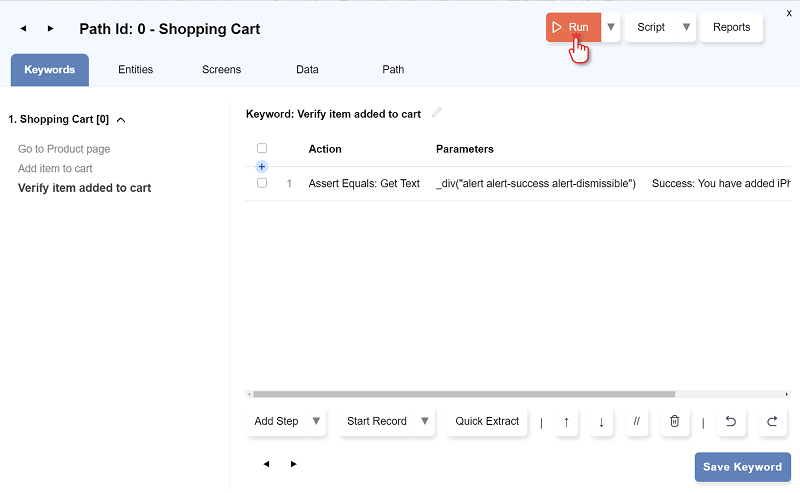
-
The
Run Settingsdialog opens. You can select the any mode and click RUN.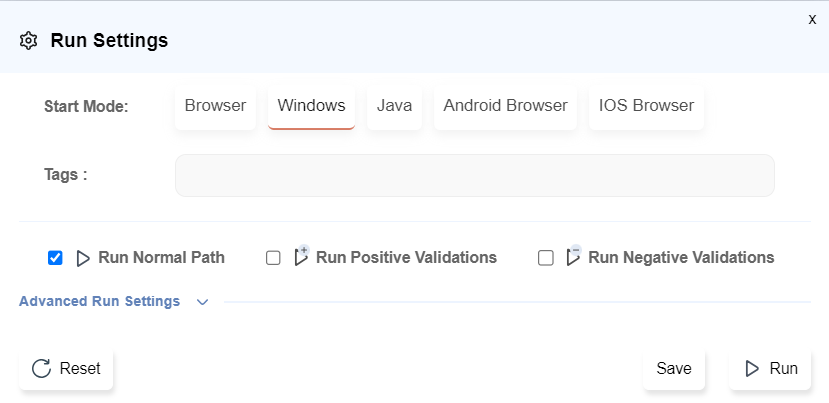
View Report
Section titled “View Report”-
Click on the
Reportsbutton..
-
The Report opens in a new browser tab.

Visual Assist Accessor APIs
Section titled “Visual Assist Accessor APIs”Visual Assist Accessor APIs facilitate artificial intelligence based automation.