Example: User Registration
Set up an example to showcase Data Drive concepts of Flowcharts
Create User Registration flowchart
Section titled “Create User Registration flowchart”- Start Sahi Dashboard
- Click on the
FlowChartslink. - Either create a new project or open an existing project.
Here we will continue with our existing project :Open Cart.
Open theOpen Cartproject by clicking on it on the Welcome/Projects page. - Start a new flowchart by clicking on the
Create Newbutton.
Add nodes to User Registration flowchart
Section titled “Add nodes to User Registration flowchart”-
Add a
LabelNode:Registration -
Add an action node:
Go to Registration page-
Click on
Registrationnode, chooseAdd Node.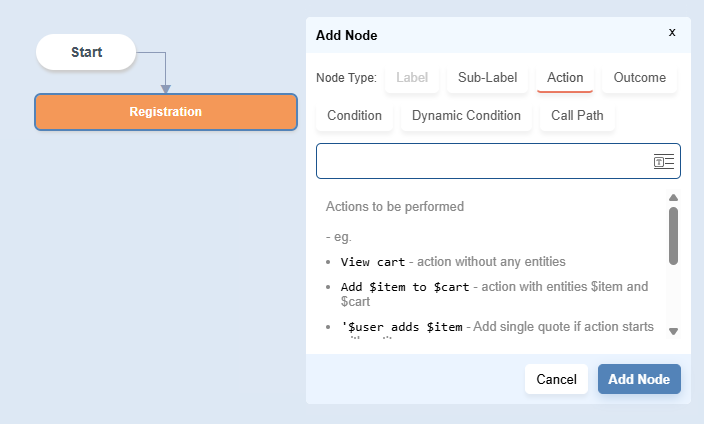
-
Specify the page to navigate to, indicating where the action will be performed:
User Registrationand then click on Add Node button.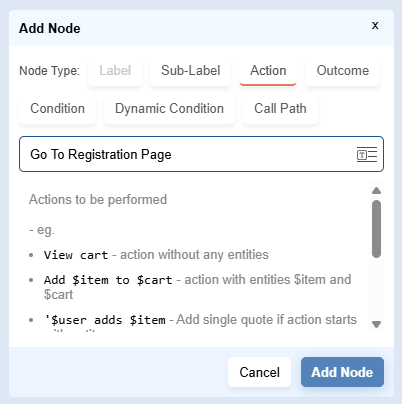
-
-
Add another action Node:
Enter $user details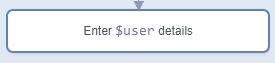
-
Add an outcome node:
Verify $user created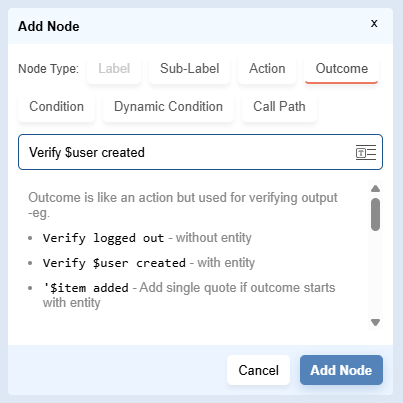
-
Add another action Node:
Logout -
We have added all the required nodes.
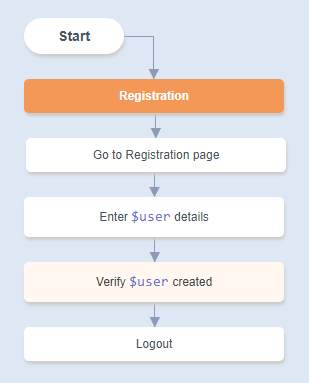
Save User Registration Flowchart
Section titled “Save User Registration Flowchart”-
On the Flowcharts window, click on the
Savebutton. -
Enter the flowchart name
User Registrationand clickOK.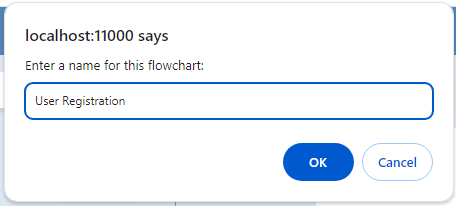
-
As soon as the flowchart gets saved, the name will appear in the following two places:
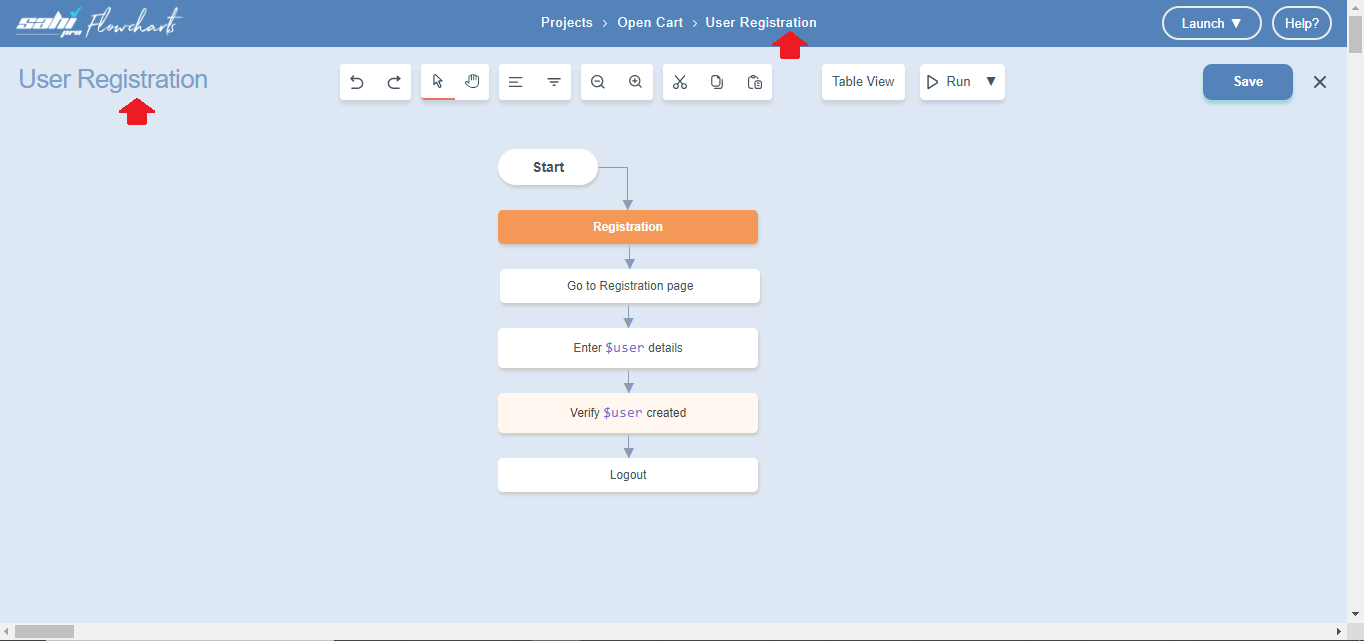
Launcher Settings
Section titled “Launcher Settings”-
On the Flowcharts window, click on the dropdown arrow next to Launch and then select
Launcher Settings.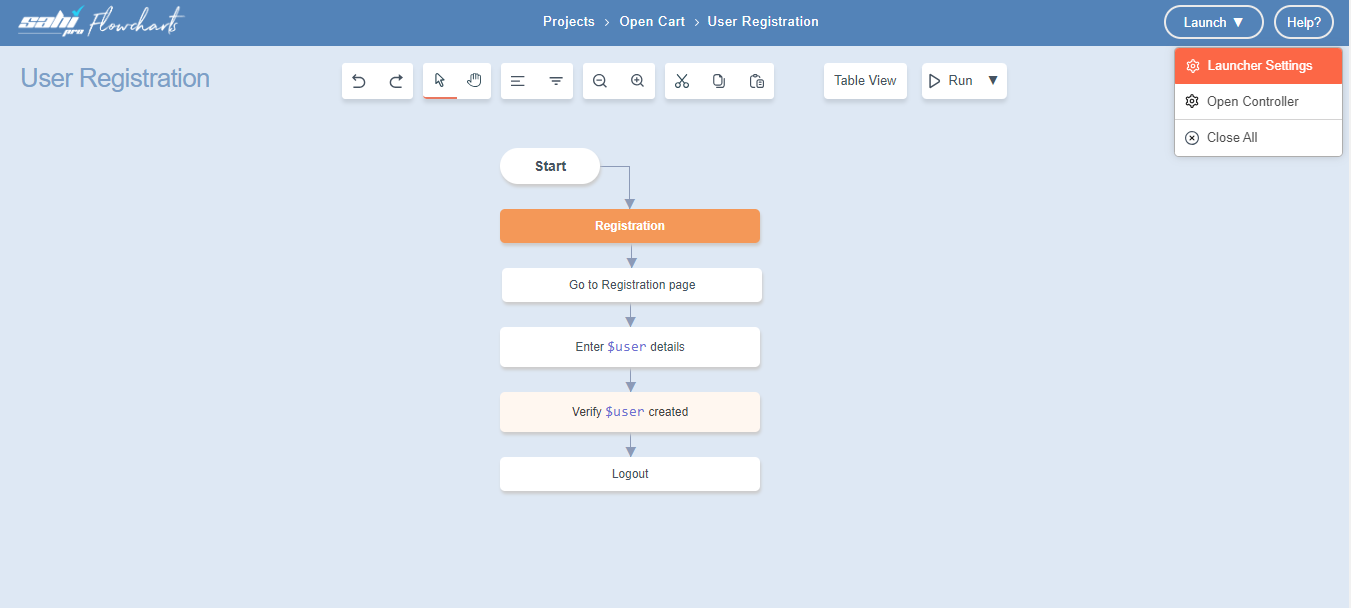
-
Launcher Settingsdialog opens.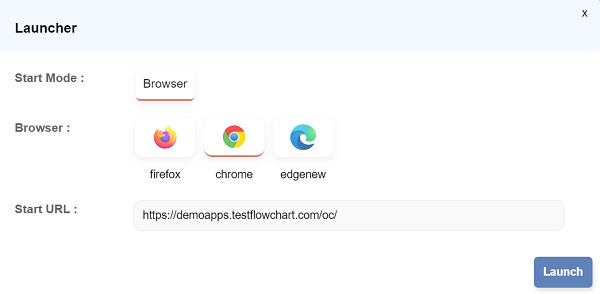
- Select the browser: Chrome
- Type or paste the URL for the destination webpage (The website for which you are making this automated flowchart). In this case URL will be: http://demoapps.testflowchart.com/opencart/
-
Click on
Launchto launch the webpage to confirm that the browser opens with the desired URL and close the browser.
It will automatically save the settings.
Open Automate dialog
Section titled “Open Automate dialog”-
Click on any node of the flowchart and select automate.
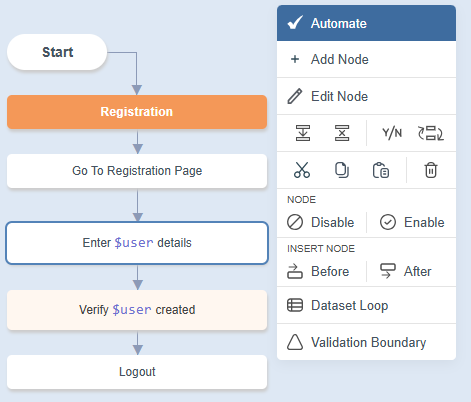
-
Automate dialog opens up.
-
Observe that the keyword associated with the selected node, where you clicked to automate, is displayed in bold on the left pane, while the right pane provides space for adding detailed information.
-
You can select any keyword by clicking on it on the left pane as per the need.
Add Steps
Section titled “Add Steps”-
Record steps for
Go to Registration pagekeyword:-
Select the first keyword i.e;
Go to Registration pageby clicking on it. It will be displayed in bold to show the selection. -
Click on Start Record button.

-
The OpenCart website opens up in a new browser.
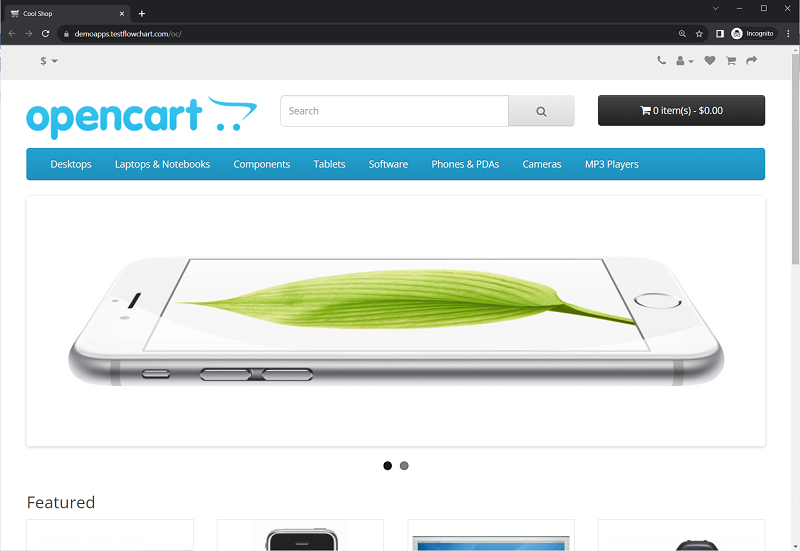
-
Click on the
My Accountbutton, then click onRegister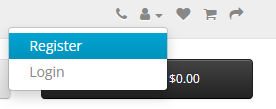
-
Notice that in the right pane of the automate dialog, your clicks are recorded and shown as below.
Click on
Save Keywordbutton to save your progress.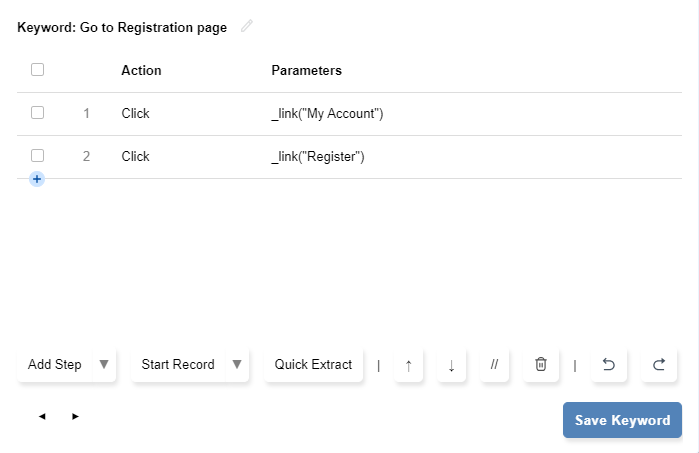
-
At this stage you can
Stop recordingor continue for next keywords.
-
-
Record steps for
Enter $user detailskeyword:-
Select
Enter $user detailskeyword . -
Click on
Start Recordbutton (if it is not in recording mode). -
Navigate to
OpenCartwindow and enter user details similar to the image below.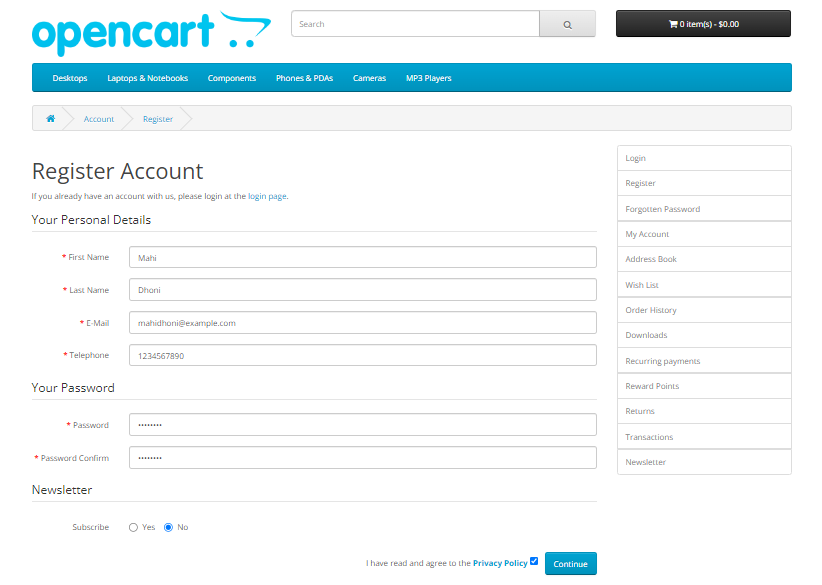
-
Click on
Continuebutton. -
Notice that in the right pane of the
Automatedialog box, the steps have been recorded and shown as below.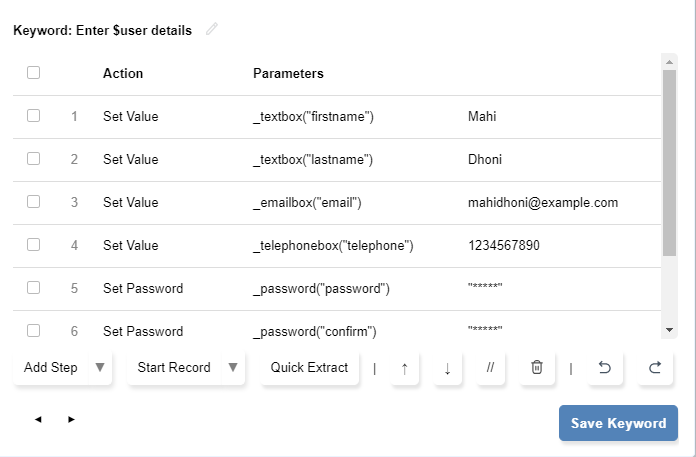
-
Click on Save Keyword.
-
Notice that, now the implemented keyword has changed its colour to black.
-
-
Add manual steps for
Verify $user createdkeyword:-
Select
Verify $user createdkeyword. -
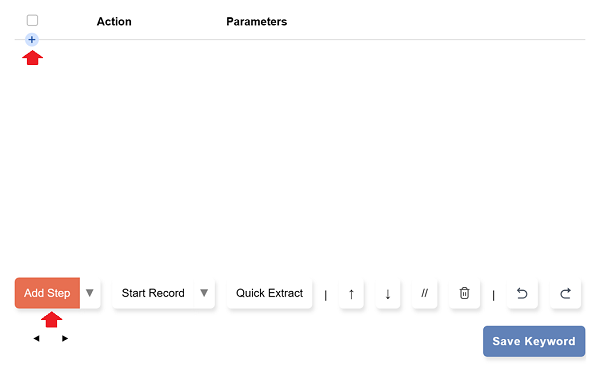
Click on
Add Stepbutton or the
button.
-
The
Add Step dialogopens. Navigate toInspect Elementtab by clicking on it.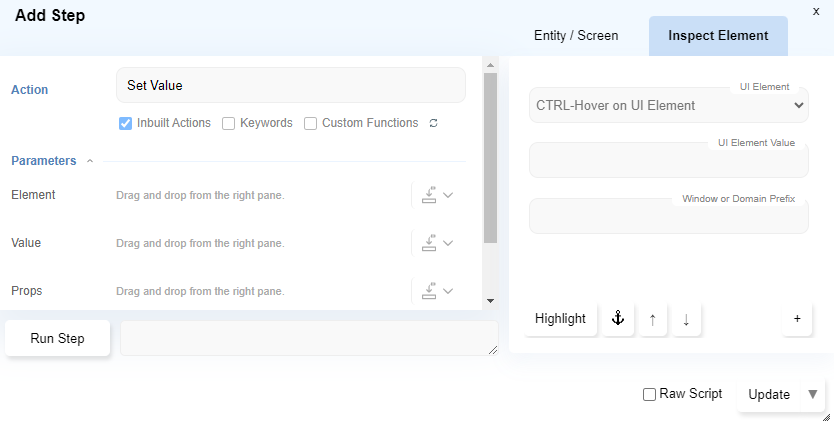
-
Navigate to the OpenCart browser window and press
Ctrlkey and hover the mouse on the “Your Account Has Been Created” message (Ctrl+Mouse Hover). It gets highlighted by a red outline.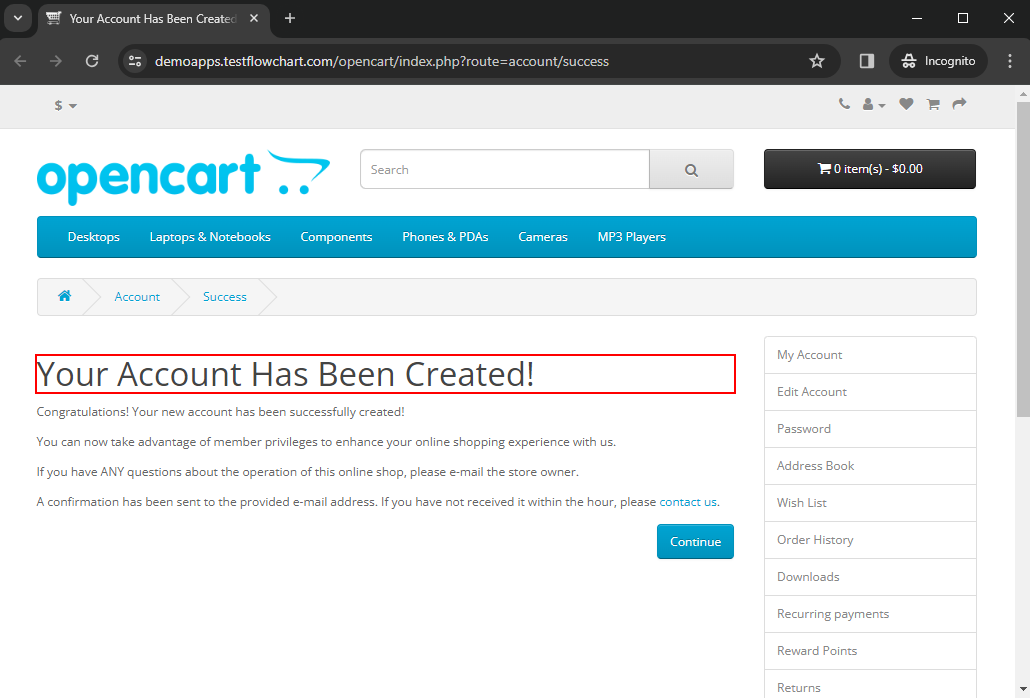
-
Notice that the
Inspect Elementtab has got populated with the success message details in UI Element and UI Element Value. -
Message can change in the future and elements should not be identified through the message so we will choose the alternatives. Select the option heading with index number.
-
Click on the

(select action/assert) button.
-
Select
Assert Text Equalsfrom the pop-up menu.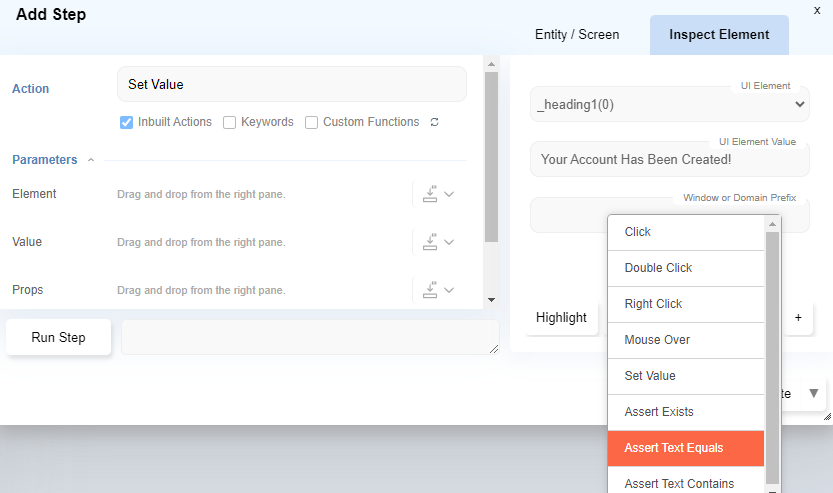
-
Notice the changes in left pane of the
Add Step dialog.- The
Actionhas been set toGet Text. - El has been set to the identified element from the website.
- The
Asserthas been set to Equals and it has the value of the success message. - The above means that, to perform the action of getting the text from the
Eland check if it is equal to the text given inAssert.
- The
-
Click on
Updatebutton.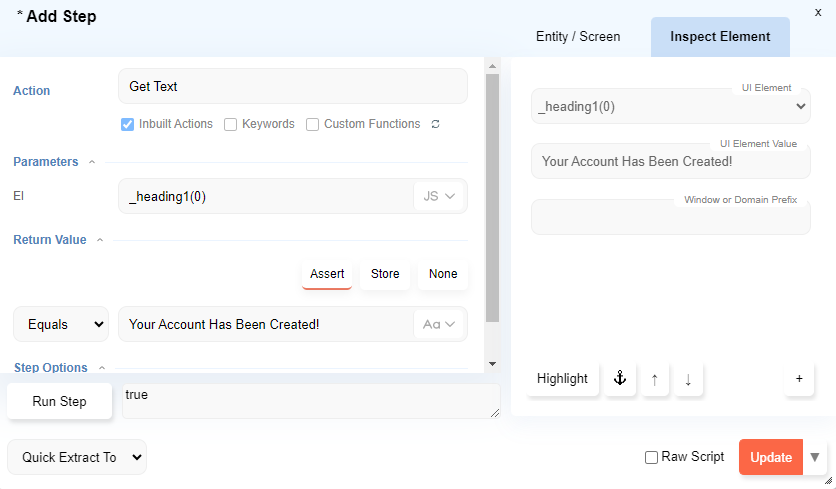
-
Click on
Continuebutton on the Opencart window. -
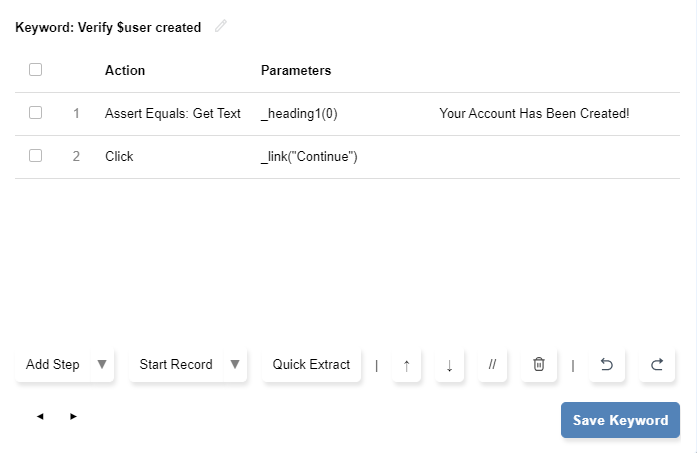
The added step looks like this:
-
Click on
Save Keyword.
-
-
Record steps for
LogoutKeyword :-
Select
LogoutKeyword. -
Start recording by clicking on
Start Recordbutton (if it is not in recording mode). -
On the OpenCart website browser, click on
Logout.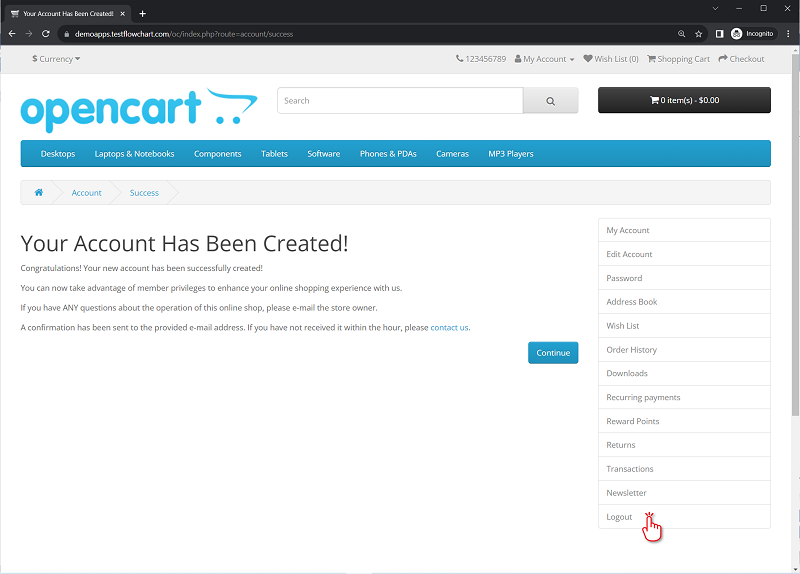
-
Notice the recorded steps in the
Automatedialog and click onSave Keyword.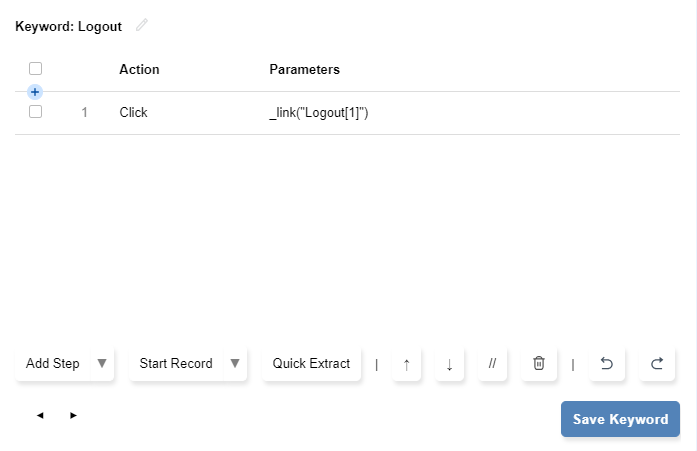
-
-
On the
Automatedialog click onRunbutton. This will run the path you are working on. .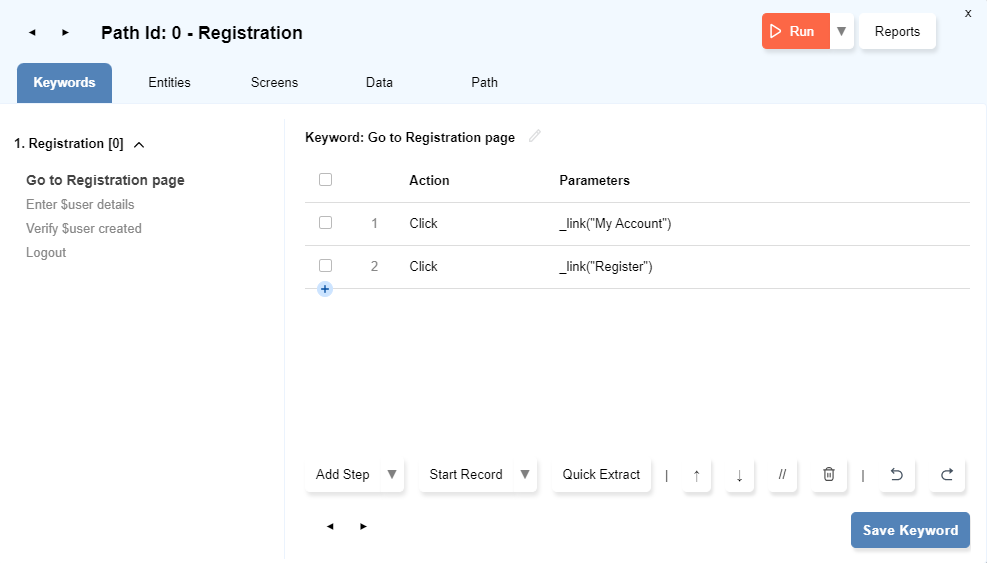
-
The Run Settings dialog opens. Check the settings and make any changes if required.
SelectRun Normal Pathand clickRun.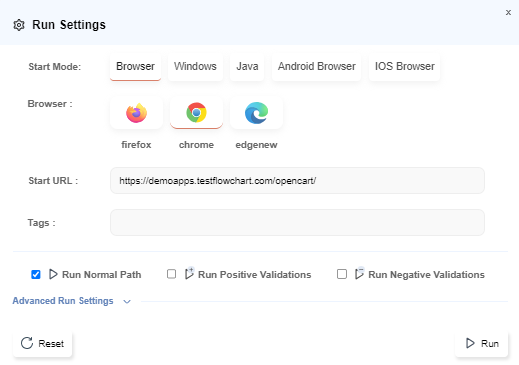
-
During the process of execution/running the flow, the following can be observed:
-
The target webpage will be launched in a browser.
-
All the added steps will execute.
-
Here the user registration page will open and the user details will be filled automatically.
-
Finally it will verify the success message. But, here we get a failure message.
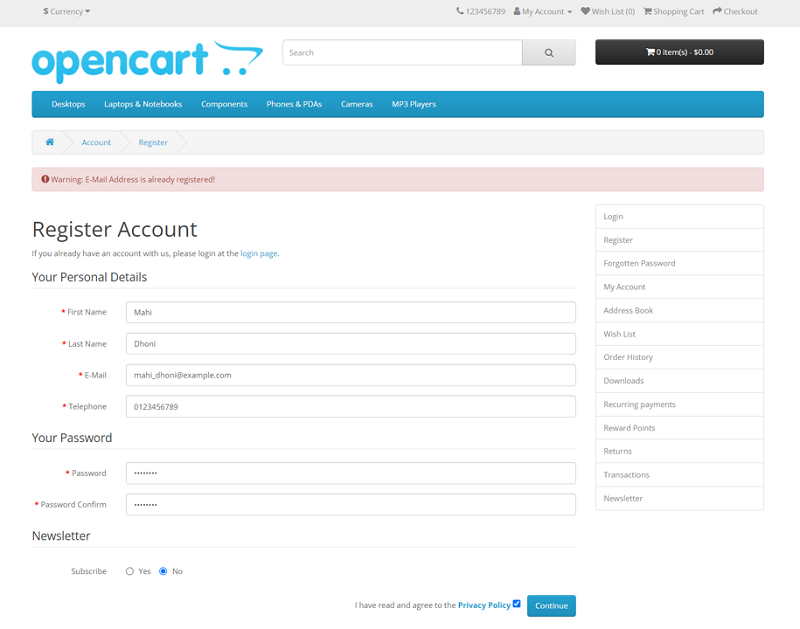
-
View Report
Section titled “View Report”-
Click on the
Reportsbutton.. -
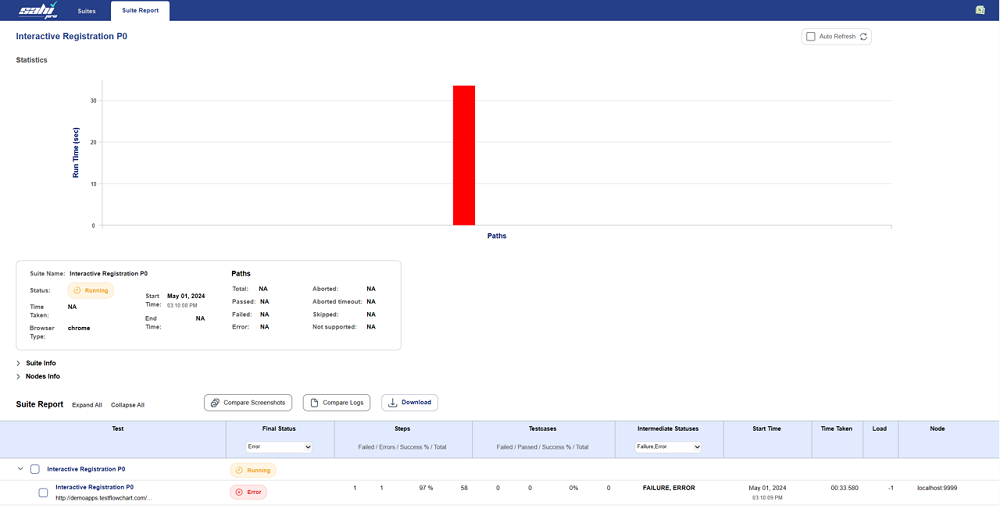
The Report opens in a new browser.

-
The Suite Report opens up.