


Manage external Jar Files and Configure Nodes
abstract
This section allows you to add upload external Jar files or Sahi support Jar files to Sahi. It also allows to
sync those Jars to other Sahi Nodes
Configure link on the Dashboard. It will open up Sahi's configuration page.
Select the Manage external Jars link on the left panel.
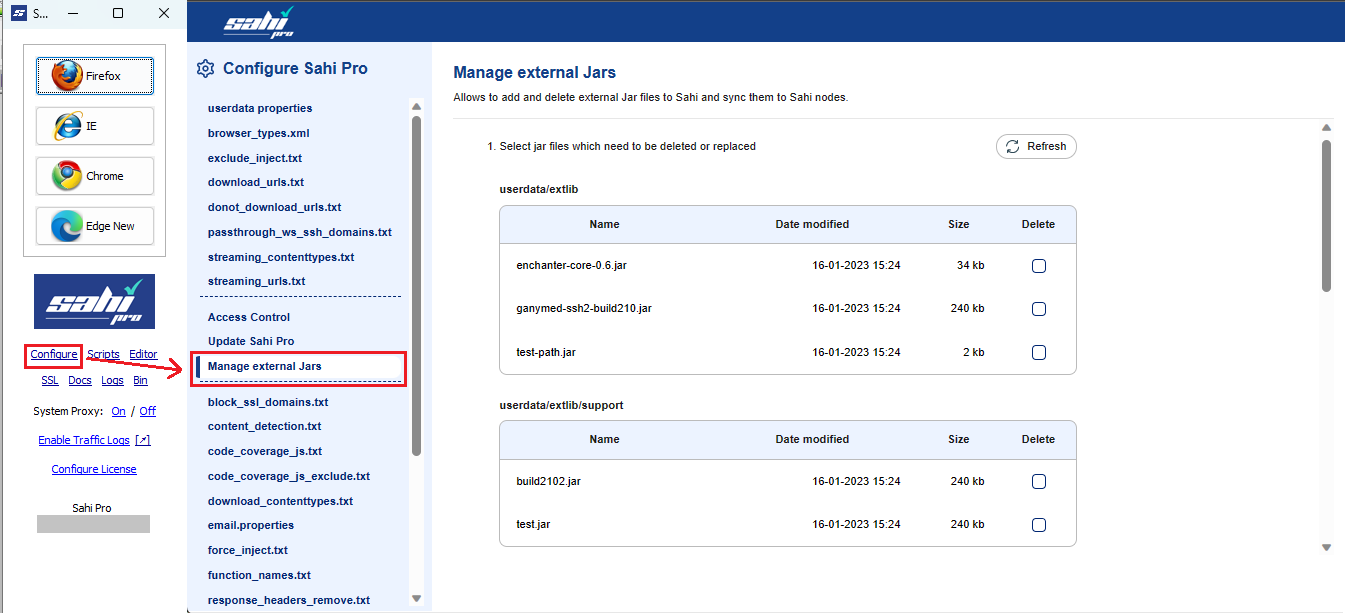
Manage External Jar Files
This functionality allows user to delete and upload Jar files to Sahi which is necessary for execution of Scripts or connecting to database. Here we have 2 sections for uploading Jar files- userdata/extlib: Jars uploaded here will be added to SahiPro/userdata/extlib folder. There are Jar files need for execution of Scripts or connecting to database
- userdata/extlib/support: Jars uploaded here will be added to SahiPro/userdata/extlib/support folder. There are Jar files provided by Sahi support for any custom changes requested by customers.
Delete Files: In order to delete Jar files, select 'Delete' check box corresponding to files to delete and click 'Apply and Restart Sahi' button.
Apply and Restart Sahi: Sahi restarts applying the changes when you click the button.
infoClicking 'Apply and Restart Sahi' button is mandatory to reflect any changes.
Sync External Jar Files to Sahi Nodes
Sahi now allows syncing Jar files to Sahi nodes. Sahi will automatically restart all nodes after synching in order to make sure the changes are reflected. You can provide host and port of nodes where sahi is running in the text box provided. By default all Jars present in SahiPro/userdata/extlib folder is synced to the nodes provided.By checking the check box Sync Sahi Support Jars all Jar files present in SahiPro/userdata/extlib/support folder is also synched.
Status shows the real time status of each nodes provided. After successful syncing and restarting of nodes, a tick mark will appear. If any failure occurs, cross mark will appear. Hovering over the image shows the failure reason.