Integrate with Azure DevOps
abstract
Azure DevOps and other Continuous Integration systems can trigger Sahi scripts as part of the build process using Sahi's ANT target.
Automation is useless without Continuous Integration. Sahi suites should be periodically executed and CI systems can trigger suites when code changes happen.
Sahi suites can be triggered via ANT. We configure Azure DevOps to call Sahi's ANT target and then make Sahi's logs accessible from Azure DevOps.
Prerequisites
- Sahi Pro should be installed on say
C:\sahi_proand running. - Before integration, you will first need an ant target to run the suite file.
You can create the ANT target from the editor using playback options.
Save the file in any path accessible by Azure DevOps (say
C:\sahi_pro) and lets call itbuild.xml. - Create a file
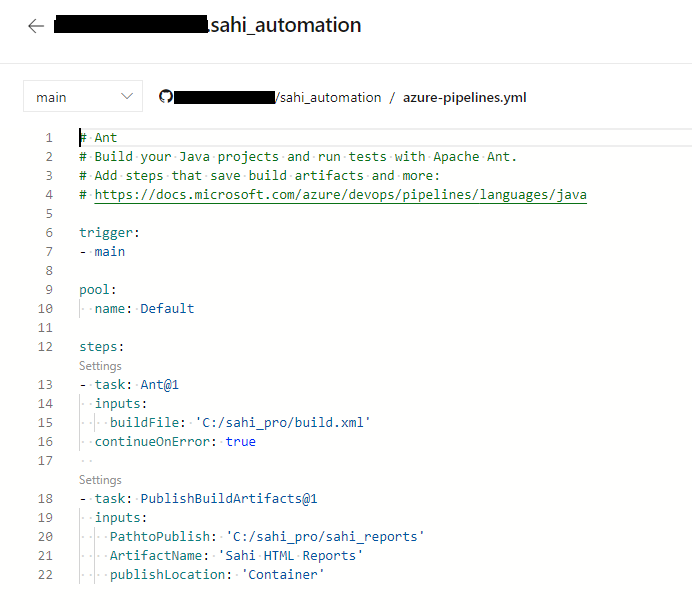
azure-pipelines.ymland copy the below content into it.# Ant # Build your Java projects and run tests with Apache Ant. # Add steps that save build artifacts and more: # https://docs.microsoft.com/azure/devops/pipelines/languages/java trigger: - main pool: name: Default steps: - task: Ant@1 inputs: buildFile: 'C:/sahi_pro/build.xml' continueOnError: true - task: PublishBuildArtifacts@1 inputs: PathtoPublish: 'C:/sahi_pro/sahi_reports' ArtifactName: 'Sahi HTML Reports' publishLocation: 'Container'
info
Your folder structure should look like this:
C:
  |--sahi_pro
         |
|--build.xmlConfigure Azure DevOps with GitHub
Configure GitHub
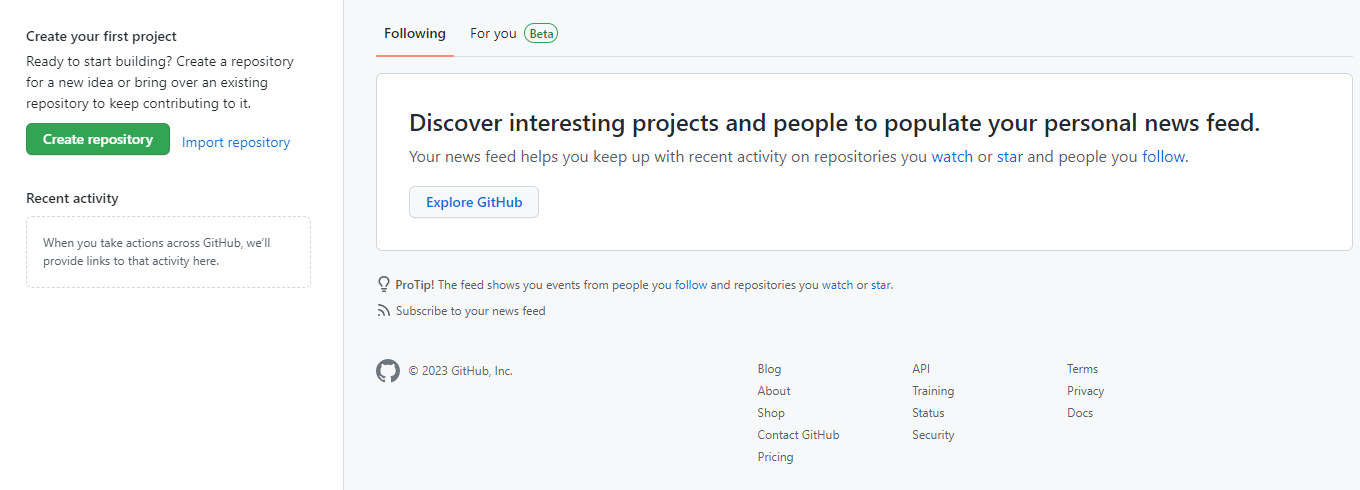
- After successfully setting up GitHub account, login to your account. You will see the screen as below.
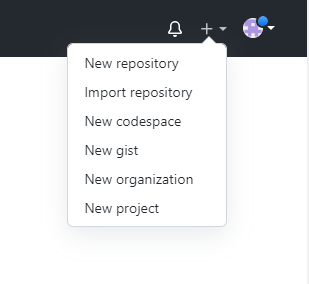
- Click on the New repository option.
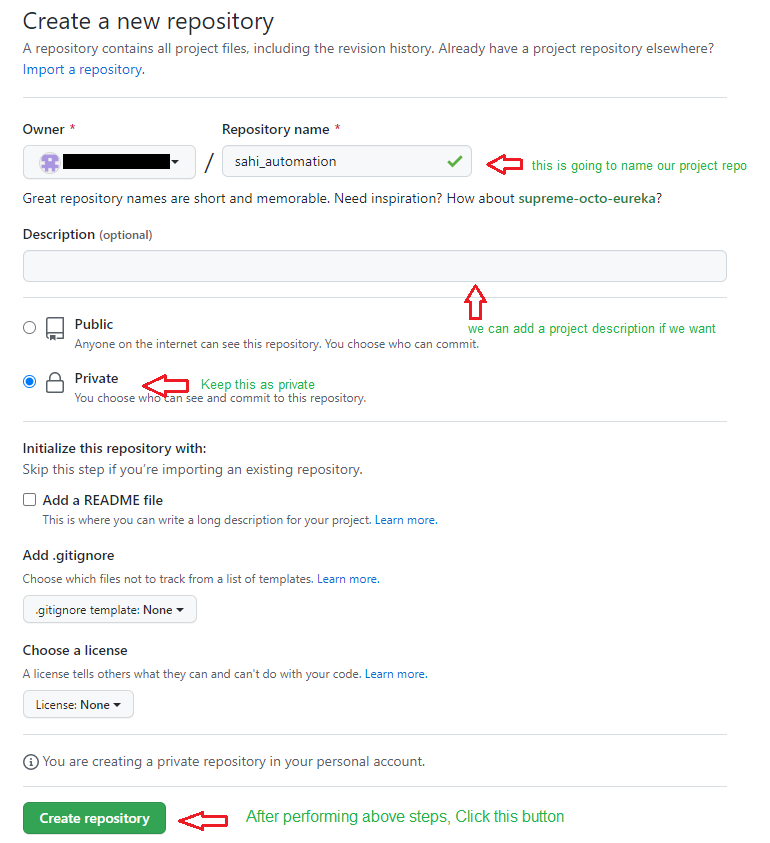
- After clicking new repository option, you will have to initialize some things like, naming our project, choosing the visibility etc. After performing these steps click Create Repository button.
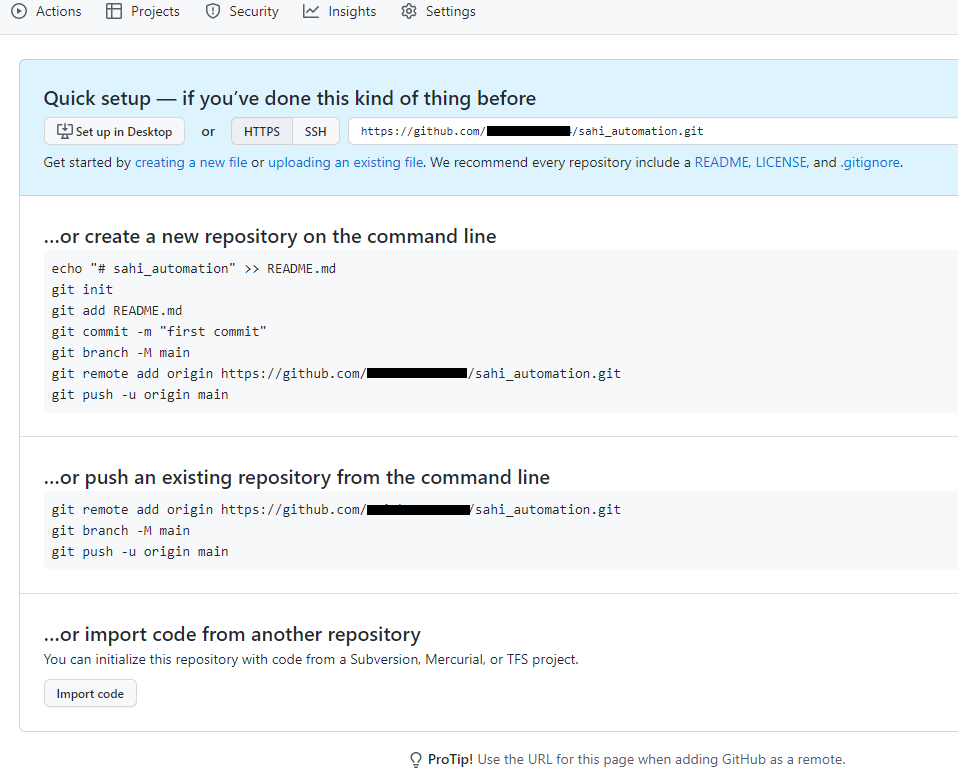
- After clicking the button, you will be directed to below page.
- Now click on the uploading an existing file link and upload azure-pipeline.yml file which you have created in
Prerequisites
Configure Self-hosted Agent pool Azure DevOps
Personal access token (PAT) generation
- Sign in with the user account in your Azure DevOps organization
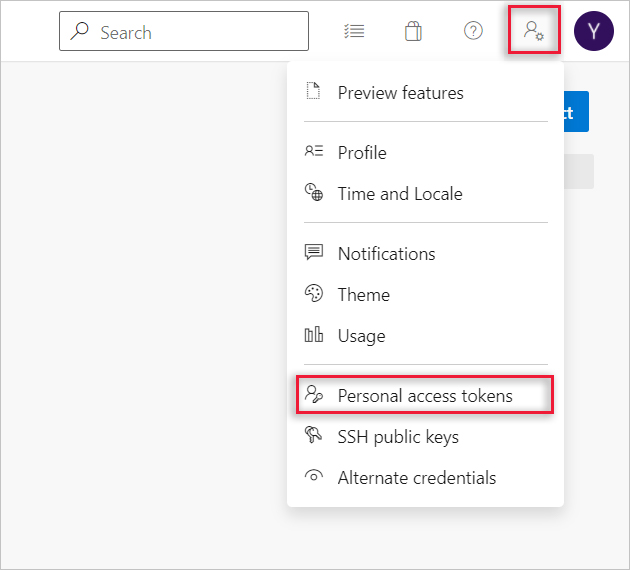
https://dev.azure.com/{your_organization} - From your home page, open your user settings, and then select Personal access tokens.
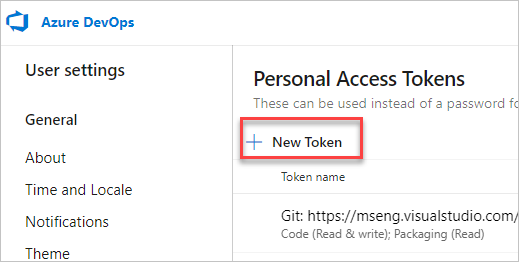
- Create a personal access token.
- For the scope select Agent Pools (read, manage) and make sure all the other boxes are cleared. If it's a deployment group agent, for the scope select Deployment group (read, manage) and make sure all the other boxes are cleared.
- Select Show all scopes at the bottom of the Create a new personal access token window window to see the complete list of scopes.
- Copy the token. You'll use this token when you configure the agent.
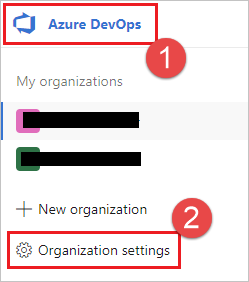
- Choose Azure DevOps, Organization settings.
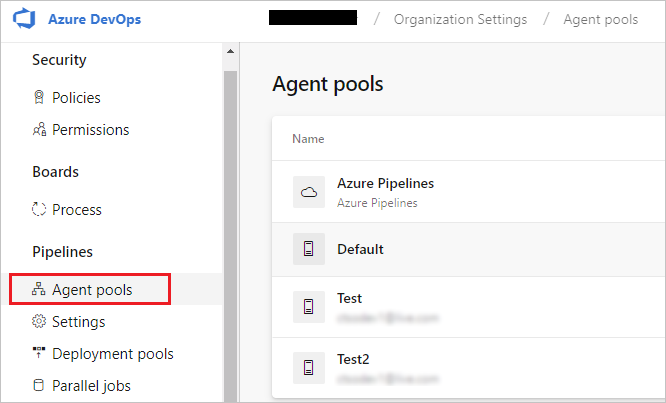
- Choose Agent pools.
- Select the Default pool, select the Agents tab, and choose New agent.
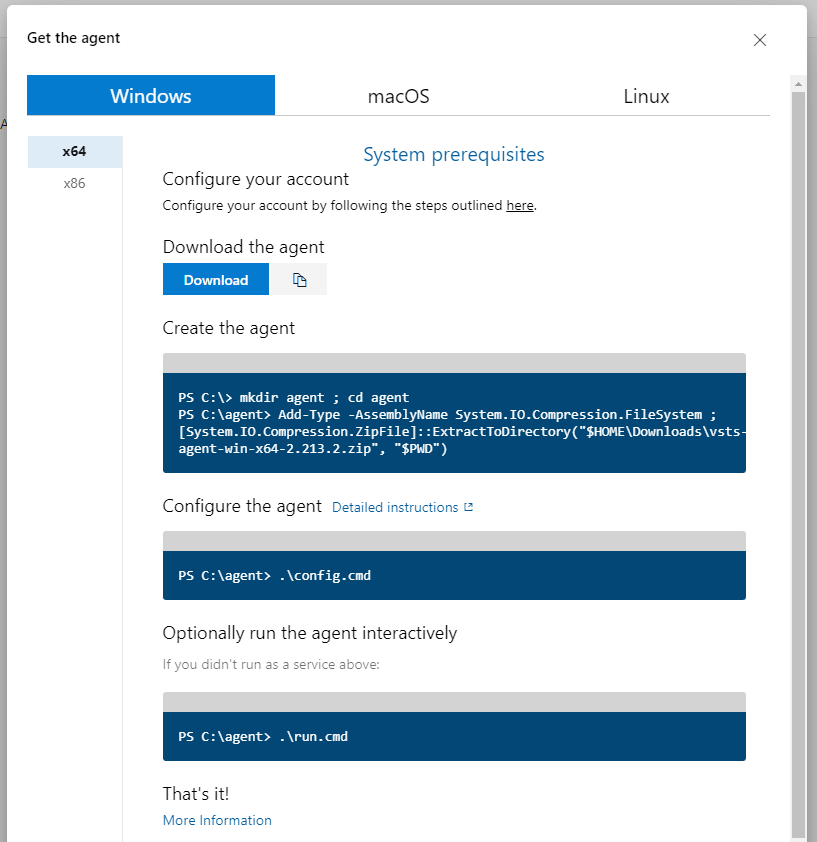
- On the Get the agent dialog box, choose Windows.
- Select the processor architecture of the installed Windows OS version on your machine. The x64 agent version is intended for 64-bit Windows, whereas the x86 version is intended for 32-bit Windows. If you aren't sure which version of Windows is installed.
- Click the Download button and follow the instructions given on the page to configure the agent.
infoWe strongly recommend you configure the agent from an elevated PowerShell window. If you want to configure as a service, this is required.
You must not use Windows PowerShell ISE to configure the agent.
infoFor security reasons we strongly recommend making sure the agents folder
(C:\agents) is only editable by admins.Configure Azure DevOps
- Create Project with Basic Process in Azure DevOps
- Click on the New Project button on the top right corner.
- Enter information into the Panel that opens:
- Enter the name of your project.
- Enter the description this field is optional.
- Choose the visibility of either public or private.
- Choose the right version control for detail refer Git and TFVC version control.
- Choose the Work Item Process.
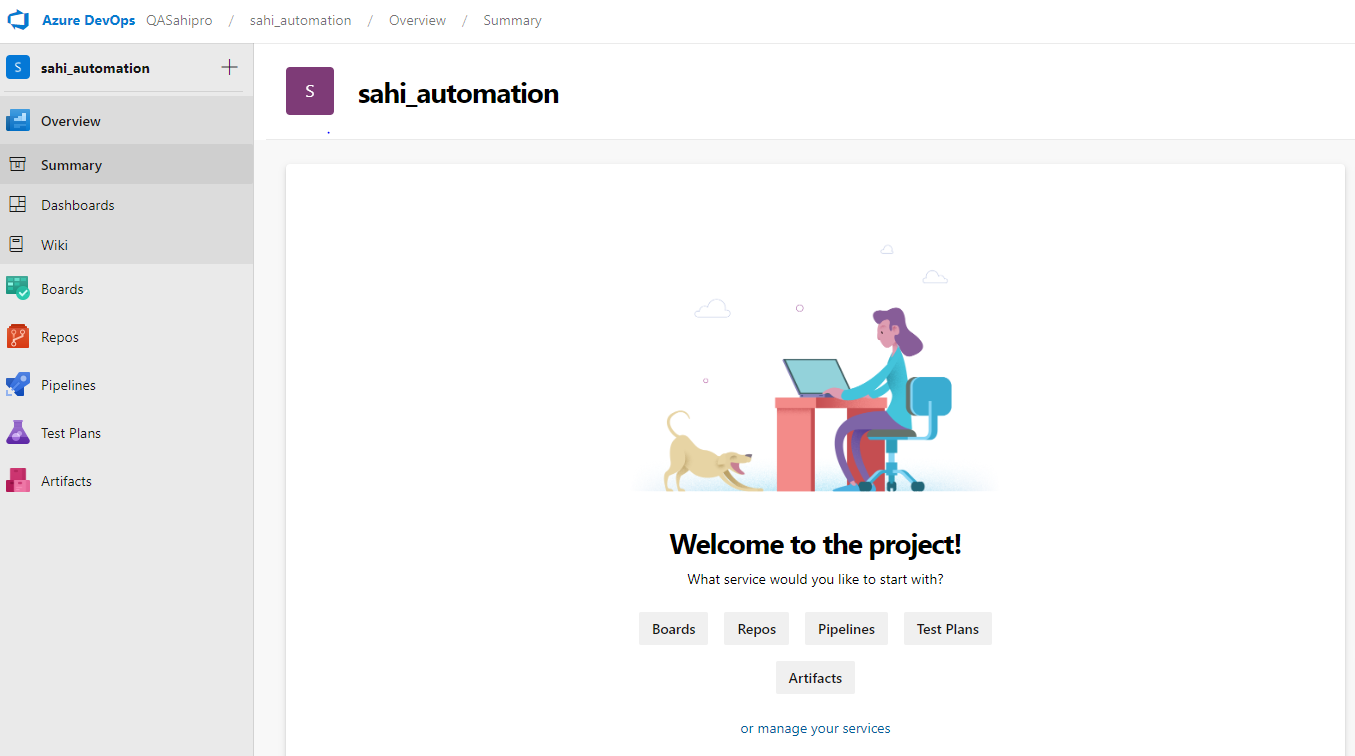
- Click Create project button. Navigated to Welcome page.
- Create your first pipeline
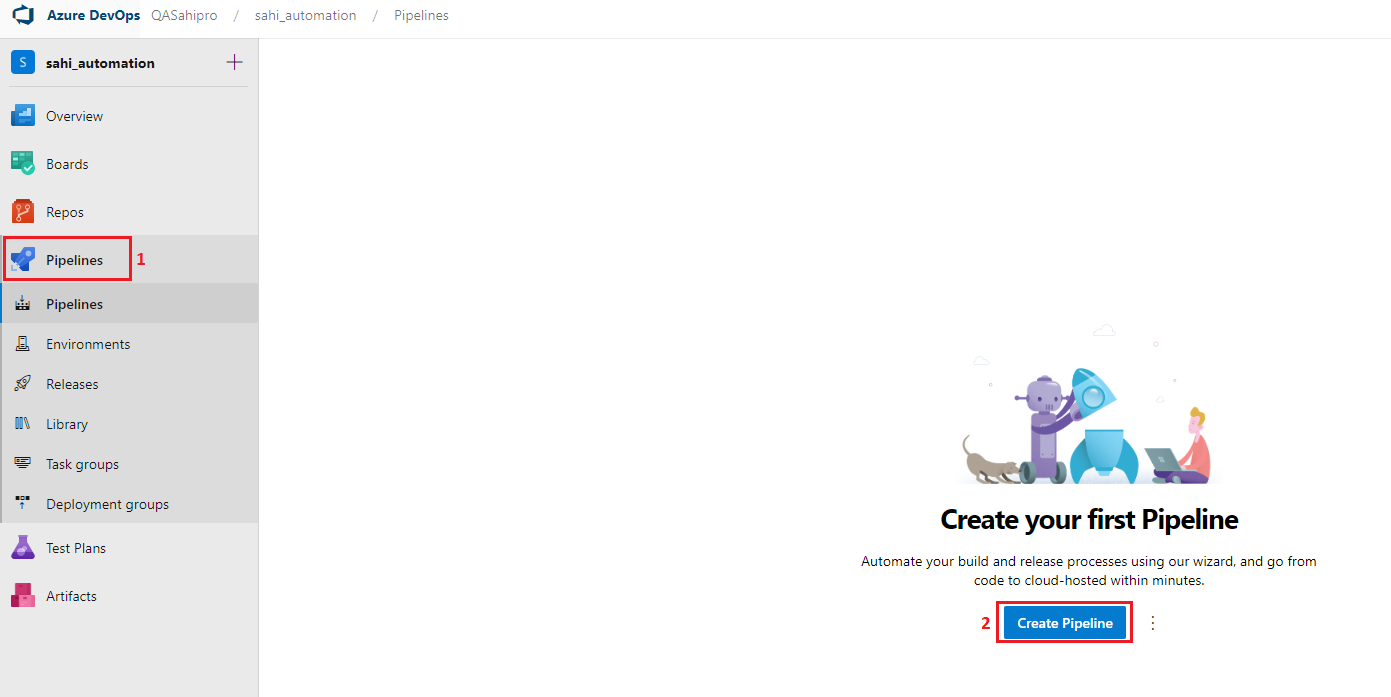
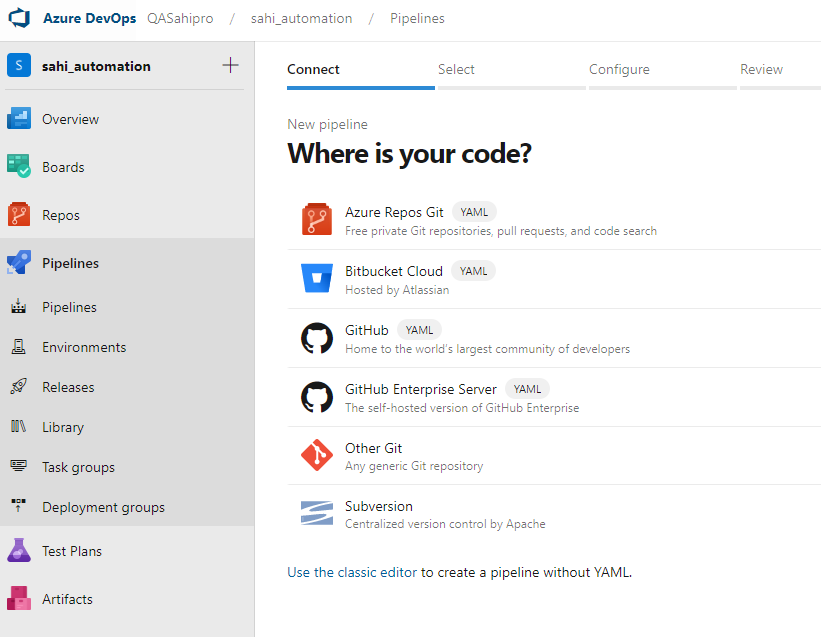
- Go to Pipelines, and then select Create pipeline.
- Do the steps of the wizard by first selecting GitHub as the location of your source code. You might be redirected to GitHub to sign in. If so, enter your GitHub credentials.
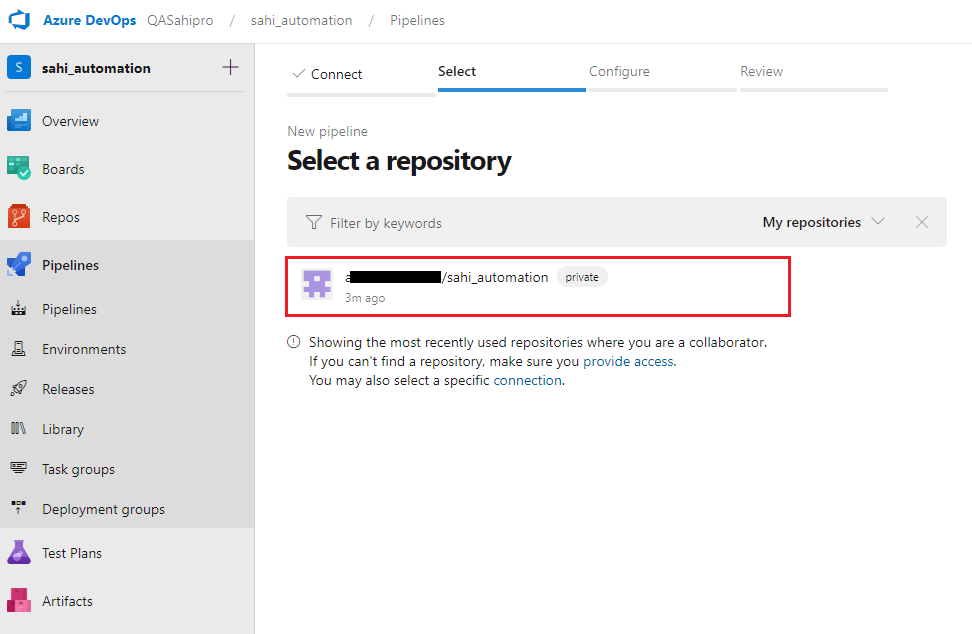
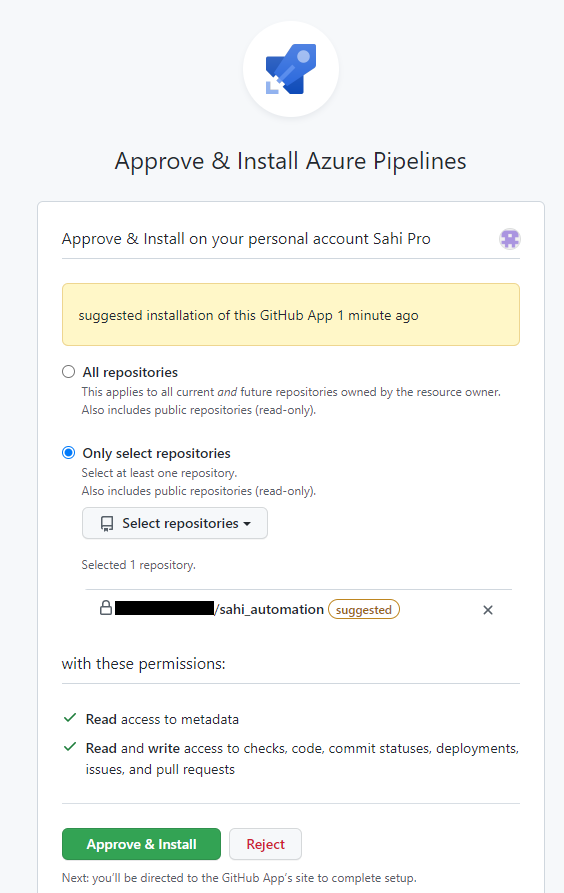
- When you see the list of repositories, select your repository. You might be redirected to GitHub to install the Azure Pipelines app. If so, select Approve & install.
- Review your pipeline YAML
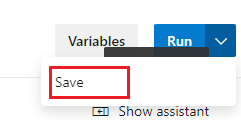
- Take a look at the YAML to see what it does. When you're ready, select Save.
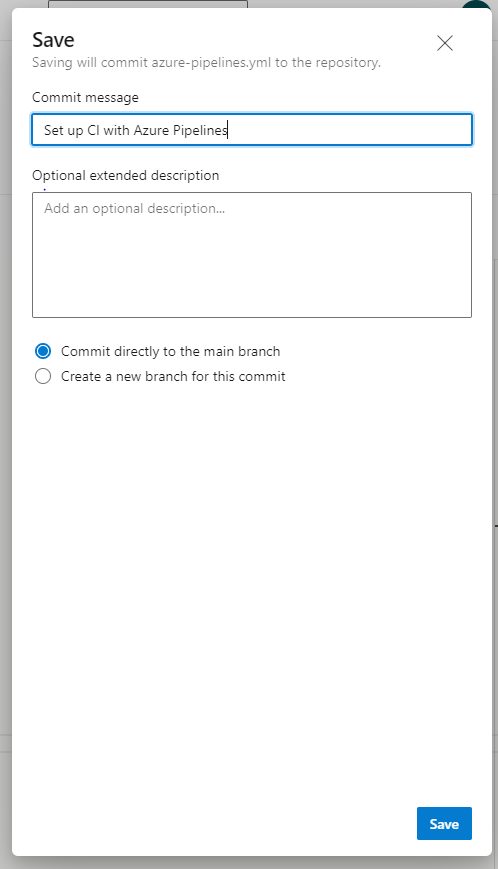
- Now, Navigated to commit to the repository page. Enter the commit message and Click on Save.
- Running pipeline
- Click on Run pipeline and then click on Run.
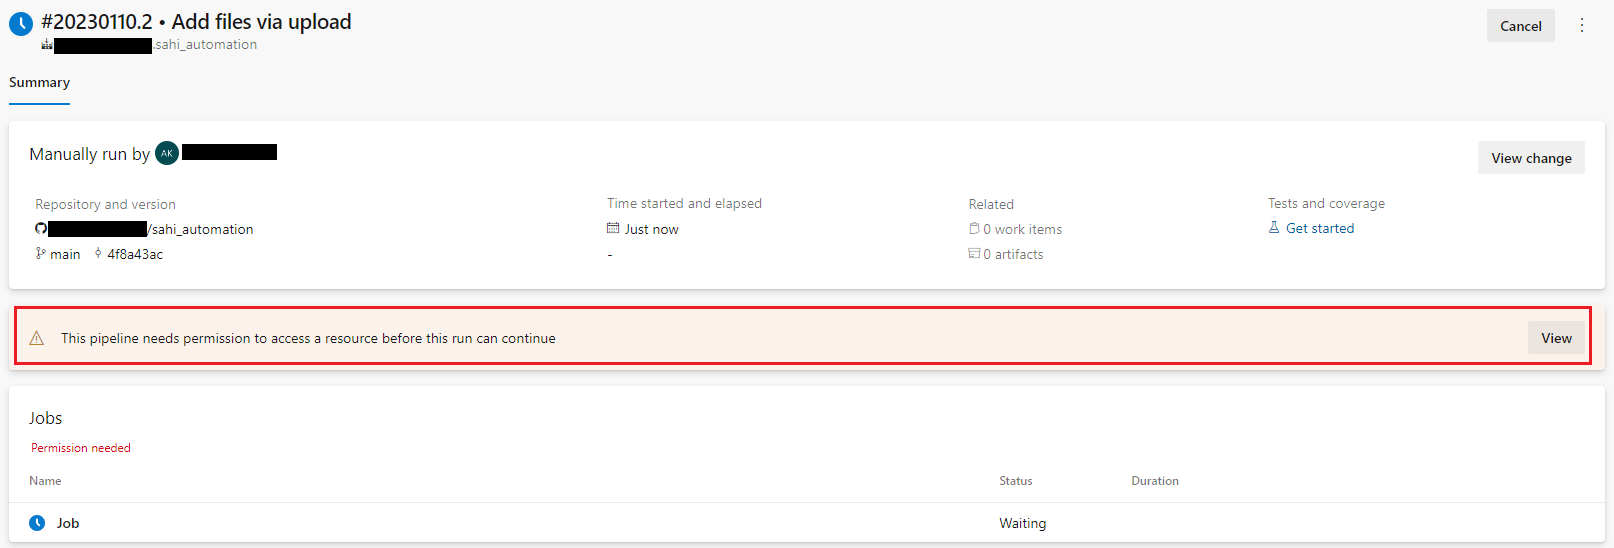
- To provide permissions to pipeline, click on View and then Permit.
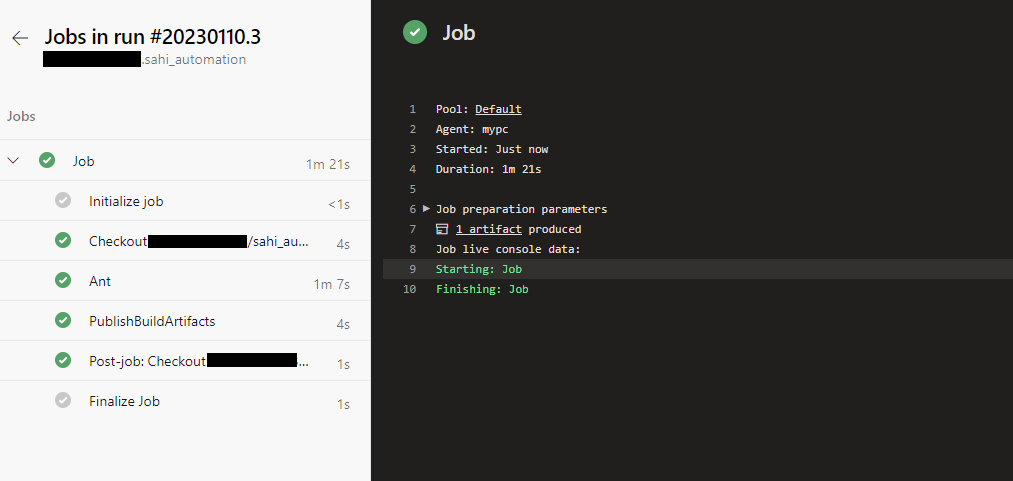
- After providing the permission to pipeline, pipeline job will start.
- View Sahi Pro HTML Logs in Azure Devops
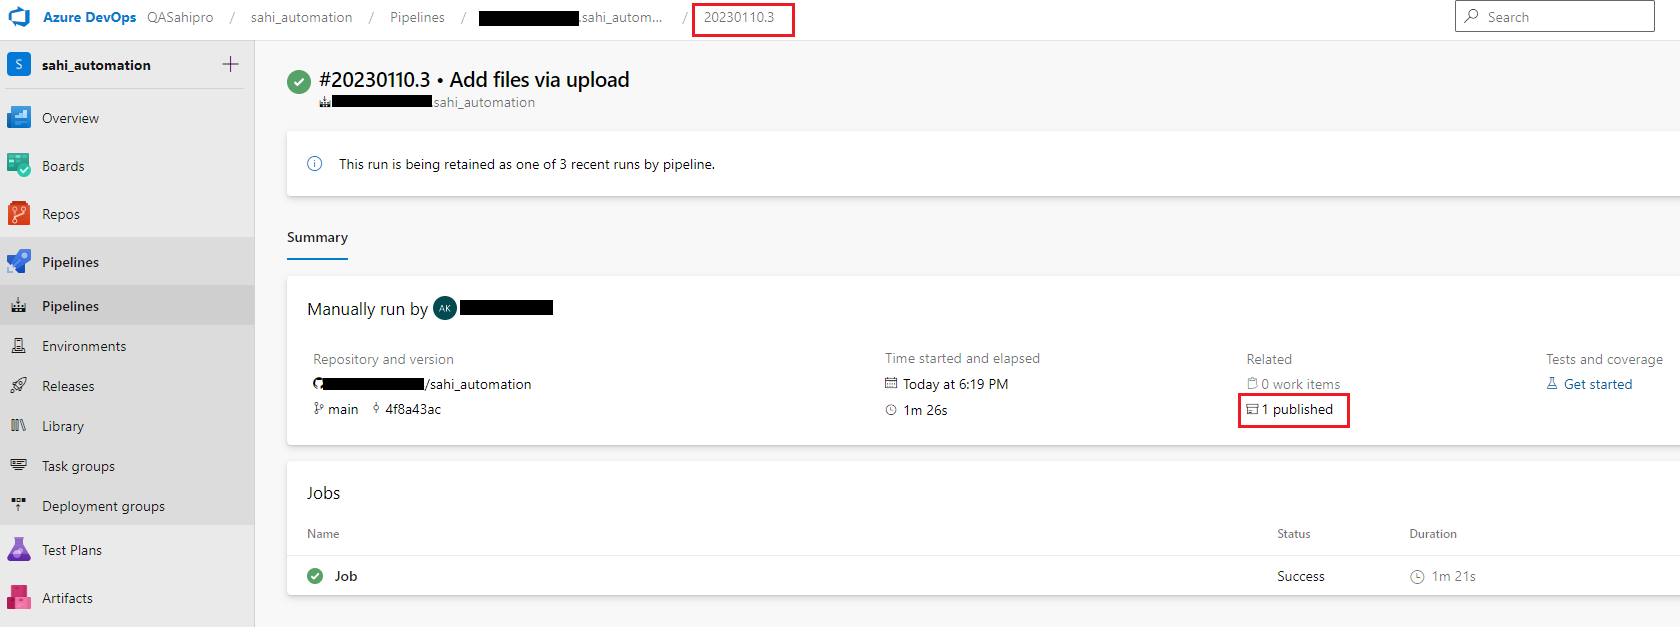
- Click on Job Number and then click on 1 published.


infoPlease update
pool name if you changed while configuration of agent pool