

Build a Request
Set the method, URL, parameters, body, headers, authorization and settings of a REST request, import one, or reuse one from History.
A request is built on the Request tab of the REST Client. To add it to a keyword, open the REST Client from Add Step (see Add a REST Step to a Keyword).
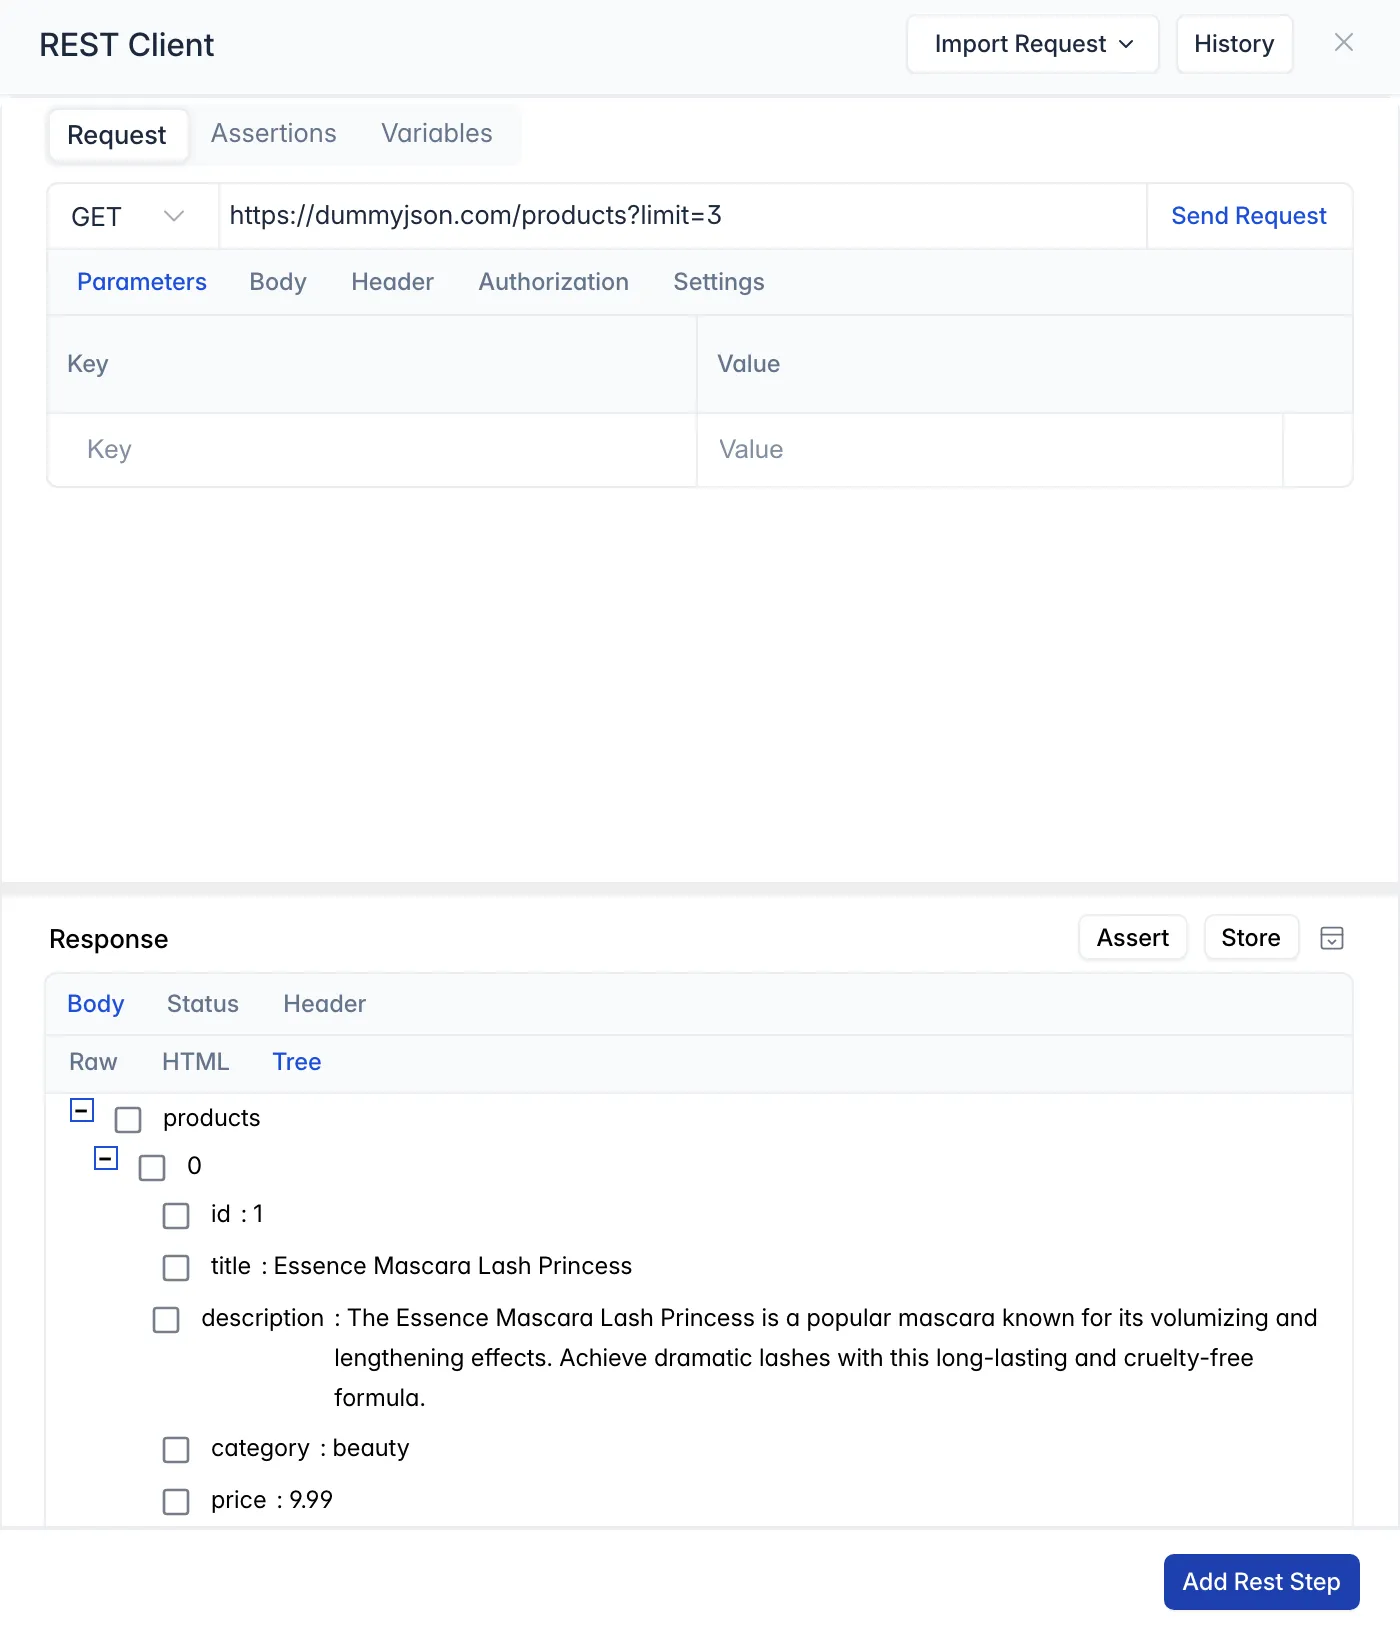
Method and URL
Section titled “Method and URL”Choose the method and enter the URL. The methods are GET, POST, PUT, DELETE, PATCH and QUERY.
Parameters
Section titled “Parameters”Add query parameters as Key and Value rows. They’re sent in the URL’s query string.
Choose how to enter the body:
- Raw: type the body as it should be sent, such as JSON or XML.
- Parameters: enter form fields as key and value rows.
Header
Section titled “Header”Add request headers as Key and Value rows, such as Content-Type.
Authorization
Section titled “Authorization”Choose how the request authenticates: No Auth, Basic Auth, OAuth 1.0 or OAuth 2.0. See Authorization.
Settings
Section titled “Settings”Reset Cookies (Yes or No) sets whether the request’s cookies are reset before it’s sent.
Upload a File
Section titled “Upload a File”To test a file upload, send the file the way a browser’s upload form does:
-
Choose
POSTand enter the upload URL. It’s usually theactionURL of the upload form, or the URL the page sends the upload to. For example:https://sahitest.com/demo/php/fileUpload.php. -
Under Header, add
Content-Typewith the valuemultipart/form-data; boundary=--boundary123456abcd. The boundary is any random string that starts with two hyphens. -
Under Body, choose Parameters, add the file field, and choose the file with the browse button beside it, or type its full path:
OS Example path Windows C:\Users\user\Desktop\upload.txtmacOS /Users/user/Desktop/upload.txtLinux /home/user/Desktop/upload.txt -
Add any other fields the upload form needs.
-
Click Send Request. The response depends on the application, such as a page confirming the upload.
Import a Request
Section titled “Import a Request”Instead of building a request by hand, click Import Request and choose Import from HAR or Import from Postman.
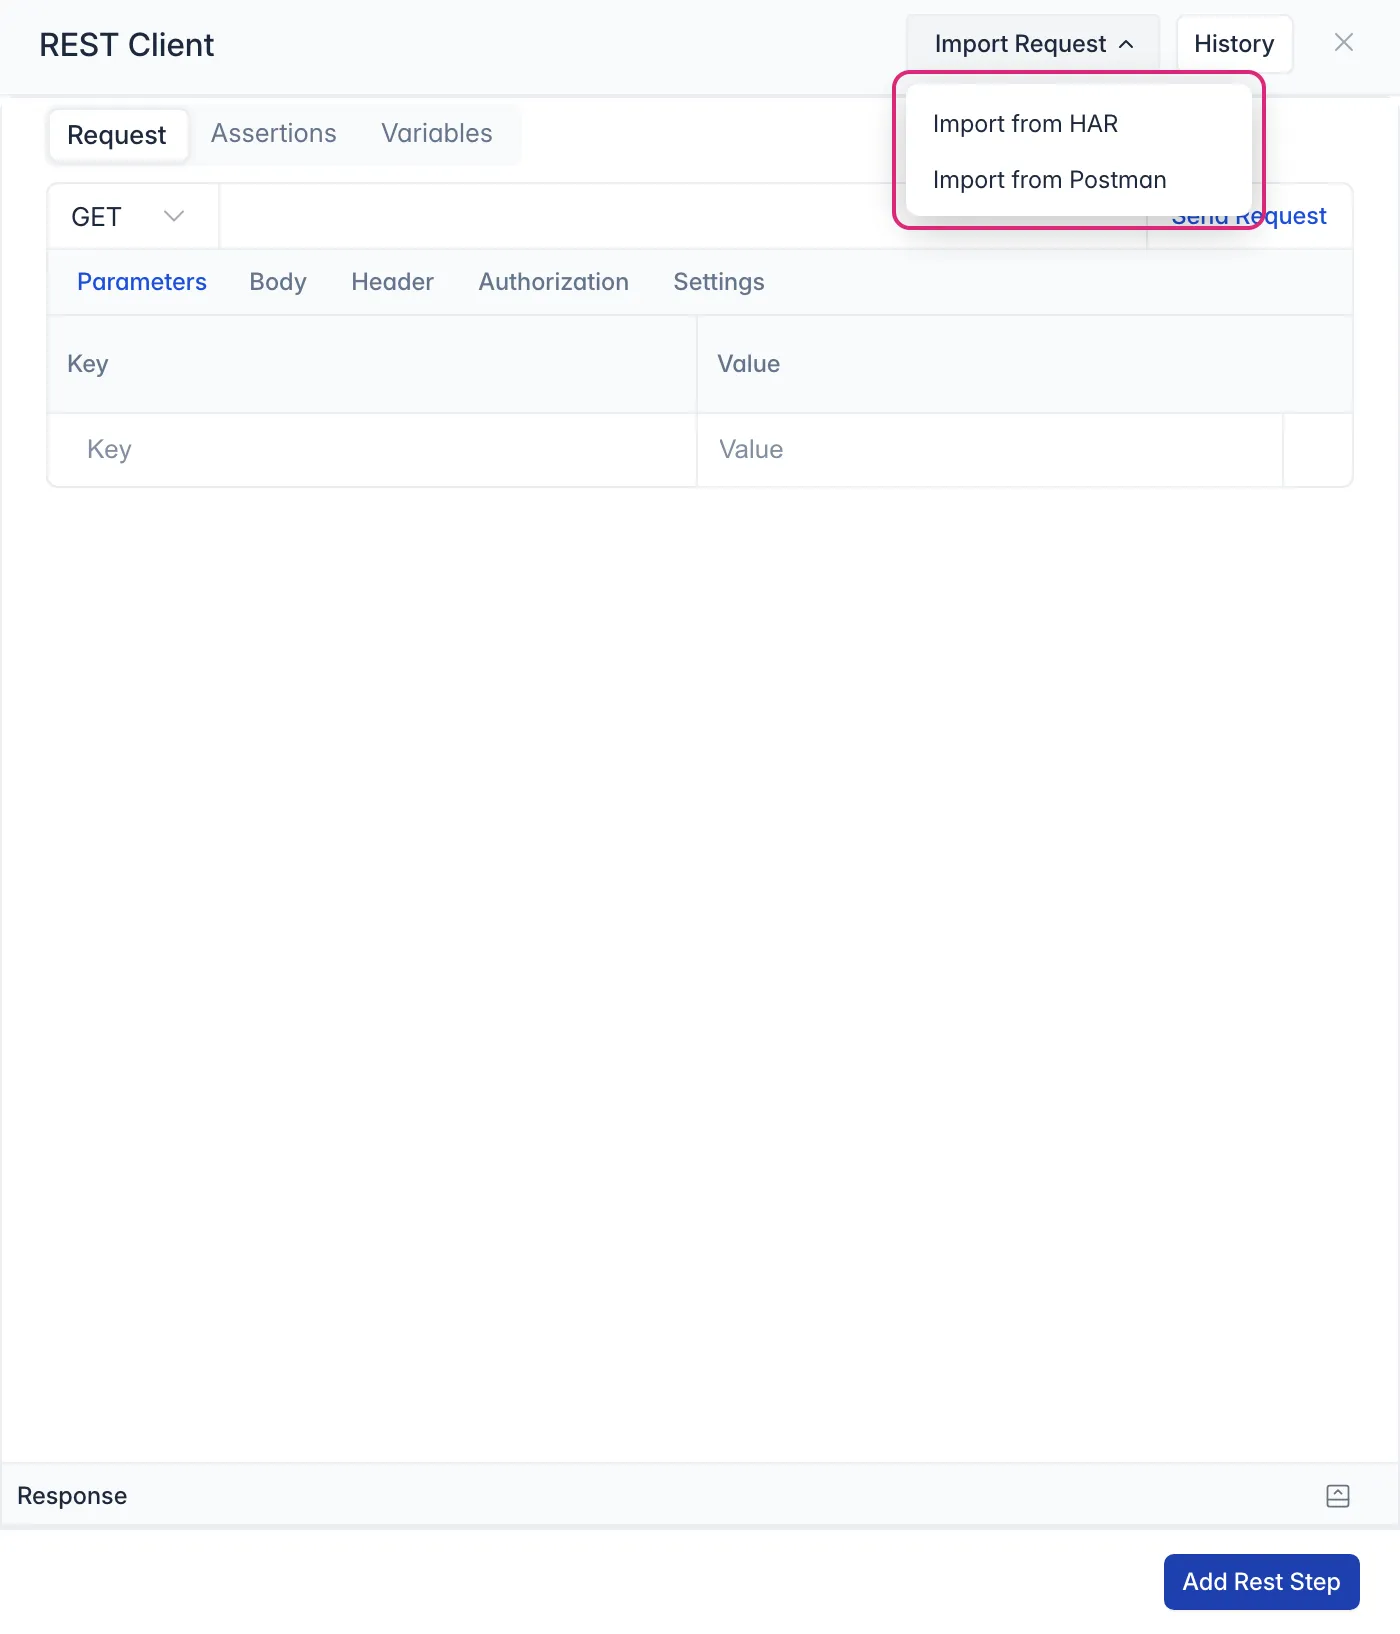
From a HAR File
Section titled “From a HAR File”A HAR file records the requests a browser makes. To get one, open the browser’s developer tools, go to Network, right-click the requests and choose Save all as HAR (the wording varies by browser).
- Choose Import Request › Import from HAR.
- Paste the
requestsection of the request you want, and click Import. It must be valid JSON, with its opening and closing braces; otherwise an alert says so.
A request section looks like this:
{ "request": { "method": "GET", "url": "https://sahitest.com/demo/", "httpVersion": "HTTP/1.1", "headers": [ { "name": "Host", "value": "sahitest.com" }, { "name": "Connection", "value": "keep-alive" }, { "name": "Cache-Control", "value": "max-age=0" } ], "queryString": [], "cookies": [], "headersSize": 585, "bodySize": 0 }}From Network Activity in a Report
Section titled “From Network Activity in a Report”A test can record the requests the application makes while it runs, so you can turn one of them into a REST step:
- Wrap the steps with _startHarLogging and _stopHarLogging, and run the test.
- In the test run report, click Show Network Activity.
- Click Copy HAR on the request you want, then paste it into Import from HAR as above.
History
Section titled “History”History keeps the requests you’ve sent, so you can open one again and reuse it.